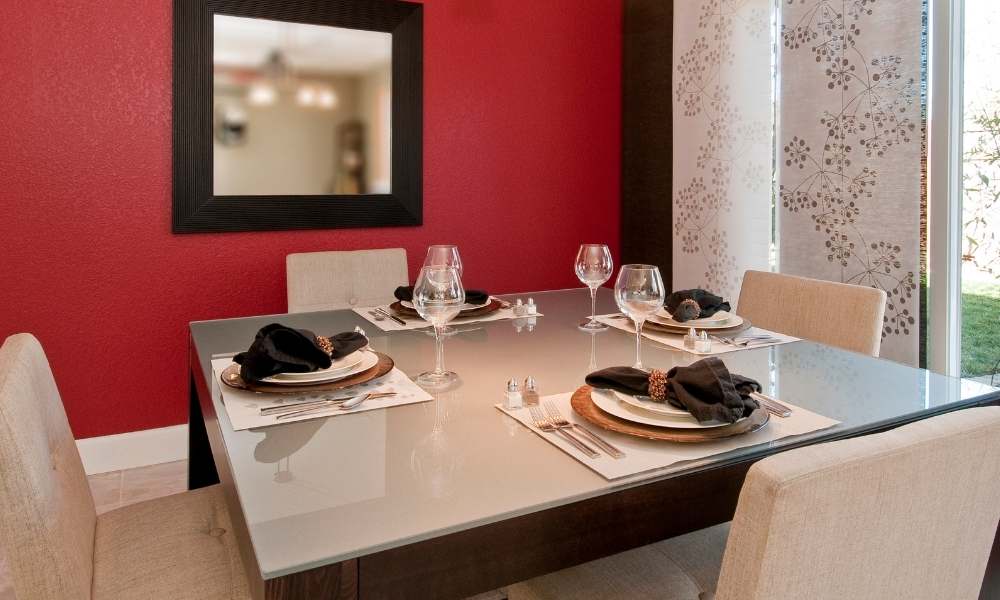
A dining room bench seat has unlimited convenience when you don’t have enough chairs for larger celebrations or holiday. When you have good knowledge of how to build a dining room bench seat do not need to sit your guest on the floor. With a proper guidelines, you can also do this like a professional. However, the DIY project is much easier than it looks and this needs basic tools to build the bench seat. Some people love to build bench with storage to storage small accessories which could be reliable storage solution.
Here we will learn to make a bench which has 2.20 cm long, and we are describing per that size. You can make a smaller or larger bench you can adjust the lengths of the long pieces of timber slightly. While the size of the A-frame should change.
Supplies
- For the fame you will need 2 smooth planed timber with 250×7.4 x 4.4 cm,1 smooth planed timber with 300×7.4×4.4 cm and 1 smooth planed timber with 240 x 7 x 7 cm .
- For the top take timber with 1 x 37.5 x 220 x 3 or 4 cm
- Three different length of screws with 6 mm thick such as 10×12 cm,8×10 com and 16×7 com long screws.
- Your favorite wood glue.
- Wood filler
- Sandpaper with 120 and 240 grit
- White spirit
- Primer and chosen paint
- Oil,wax or varnish
- Felt protector pads
Tools
- Mitre saw
- Cordless drill and drill bit
- Hired a router (optional)
- Clamps
- Filling knife
- Paintbrush
- Tape measure and pencil
Measure, Cut and Sand
Step-1
Start with measure, cut and sand steps. Cut all pieces of timber to the required length. When you are cutting timber use always miter saw. It won’t make you disappointed to cut everything into the length for the bench project. To ensure precise cutting we recommend mitre saw which served hundreds of projects with super reasonable this tools. If you are DIY project enthusiast you must have this one. To make bench like our simple follows our instruction to cut the timber.
Step-2
To make 250 x 7.4 x 4.4 cm timber need one 1812 mm long bottom piece connecting the two A-frames, one 403 mm with 50-degree angle at each end for the diagonal support and one 285 mm for top horizontal seat support.
Now, measurement for one 250 x 7.4 x 4.4 cm timber with 1×1812 mm as one of the long top pieces connecting the two A-frames and 1x 403 mm with a 50-degree angle at each end. It will be one of diagonal supports. At 1 x 300 x 7.4 x 4.4 cm take 1x 1812 mm as one of the long top pieces connecting the two frames, 2 x 403 mm with a 50-degree angle at each end for diagonal support and 1x 285 mm as the top horizontal seat support. Finally, 1x smooth planed timber of 240 x 7 x 7 cm. It needs 4 x 456 mm with a 12 degree at end and 2 x 196 mm with a 12-degree angle at each end.
Step-3
After cutting the timber using a miter saw make sure all the pieces are cut as exact as possible to make this accurately and run into any hassle of wobbly or disassembling after completing once. This time sand your timber with some 120 grit sandpaper. It helps to remove any rough edges to allow smooth everything.
See More : Best Camping String Lights
Assemble

Step -1
The stage of constructing beginnings with outlined both of blog posts 456 mm x 7 x 7 centimeters with a 12-degree angle as well as one of the brief items of hardwood 196 x 7 x7 cm with a 12-degree angle in the shape of an “A” for each of both A frameworks. Now, apply glue throughout of the horizontal bar as well as attach. It to both longer items leaving a void of 6 cm near the bottom.
If you do not intend to endanger its secure building screws 2 of the long 120 mm screws via each message see to it to countersink the head of the screws. You may have to use a drill as well as a counter bit depending upon the kinds of the screws you have chosen. While just eliminate the screws as well as use the countersink little bit to produce. A little crater for the head of the screws. To be in prior to including the screws once again.
Step -2
In this action, you require to affix the top of the A-frame and place the hardwood first on the top of the framework as 285 mm x 7.4 x 4.4 cm that you have constructed currently. Without making sure that you positioned this precisely in the center prior to connecting. It with some wood adhesive and also 70 mm screws properly. Trimming the side of the top pieces of the hardwood at a 45-degree angle is an optional action below thought this enables well completed of it.
Step -3
You have currently constructed both ends of the do-it-yourself dining room bench which are ready to enter the following level of construction with whatever. Currently affix one of the long pieces of hardwood to the horizontal bars of the A-frame. Do not forger to make sure its positioning is specifically in the center prior to attaching it. So, with some timber adhesive and also a 120 mm screw relocating the very end of this stage.
Attach the primary horizontal support and also angled specifically. By turning the bench upside-down as well as slot the 4 diagonal sustains under the beam. Bank on area them out equally as well as go with glue, in addition, to screw them in place prior to using the 70 mm screws.
Step -4
Wait to dry everything completely and also transform your bench over again and also affix the last two lengthy. It items of hardwood that sit on either of the angled hardwood pieces. You just connected and also support the seat of the bench making it more stable as well as more powerful. With a number of clamps hold the hardwood in the area. You put together every little thing as adhesive and screw.
As a professional method include 2 rows of screws one from each side of the bench maintain a balance of them. When the glue is completely dry completely load the hole. The screw head with some timber filler and fining sand whatever for entirely smooth finishing.
Paint

After ended up the assembly of the framework, loading the holes as well as offering whatever a sand start. To provide all of it a layer of guide as well as paint. Once the primer has actually dried out, the majority of the moment offer the structure light sand with some fine sandpaper. Such as 220 grit to get rid of any kind of imperfections. You should make sure the surface is clean and dirt-cost-free before giving the framework a number of layers of paint with your selected paint coating. Use the ideal dimension of a paintbrush to see to it enjoyable paint result.
Add The Top
In your do it yourself job just how to build a dining room bench seat is the last episode. Straightly lay the piece of timber that will develop the top of the bench on a level surface area as well as place the structure of the bench into the facility of it. You ought to secure the top in place. Afterward, screw a screw with each of the horizontal bars to connect the fame in addition to the top of the bench with each other.
One more thing you should take care to load the last 4 screw holes with some timber filler and also paint over the little filler only. It has actually dried to avoid any mess or default.
Make The Edges Round

Though you may think it is optional, however we suggest doing this to offer a nicer as well as comfortable surface to the bench. You do not need to acquire a router for solitary use instead you can employ one to round the side of the seat. If you’re thinking some sandpaper additionally provide you smooth edge a router in the job of rounding the side make sure much more expert coating.
A simple rounded edge behaves and is also smooth for a pleasant experience. When you sit on a bench that does not dig into your legs. We have currently claimed to you, that a straightforward step of directing the side of the bench becomes a super basic thing to do. By holding the router against the edge of the timber and also let the device do its rest or work. Get a perfectly spherical side after a couple of mins.
Oiling The Surface
You don’t such as to leave the final repair of your newly construct dining-room bench seat for extremely simpler action and also investing little money for buying oil. So, whenever you have actually completed smoothing the edge with a router provide the entire bench seat sand with some 120 grit sandpaper. And also make certain it is entirely smooth. To make the surface area all set to oil some Danish oil gets rid of the sawdust and also clean the freshly sanded wood surface with a soft cloth. To fix some blunder use white spirit before making trace of place.
We recommend offering numerous coats of oil. While guaranteeing each of the layers completely dried right into the surface area. And also wiping off any kind of excess with a tidy towel prior to gets dry as well as applying the 2nd layer. Do not fail to remember to add some little pads under the feet off the bench. To protect your floor from disgusting scrapes.
Conclusion
We hope you have loved our entire guideline on how to build a dining room bench seat while we are ensuring you that this bench will be enough strong to give reliable space to more guest around the dining table. This new DIY dining room bench seat project will take up to 6 hours for cutting, mesuring, assembling, painting and oiling, but the final look will make it worthy. As an affordable project you can try this any time even in your off day.
This solution easily can update your dining room seating. You can place this any style or theme of your dining area with least of costing. You will also make corner one with box to store things we will discuss those another day. If you have any question about this blog leave in comment section. We will give you answer as soon as possible.
Now,start following and working on it to get a dining room bench seat new addition for your space.

