
Replacing an office chair cylinder is a straightforward yet essential task for maintaining comfort and functionality in your workspace. Over time, chair cylinders may wear out, causing height adjustment issues or instability. Learning how to replace office chair cylinder not only saves money but also extends the life of your chair. This guide provides clear, practical steps to remove the old cylinder and install a new one, ensuring smooth height adjustments and reliable support. With the right tools, preparation, and trusted replacement parts, you can tackle this task effortlessly. Whether you’re managing a sagging seat or a cussed cylinder, this expert technique ensures your chair is back in movement, imparting maximum comfort and productiveness.
Understanding Office Chair Cylinders

Gas lift cylinders are the heart of your clean office chair’s adjustability. These mechanisms, filled with compressed gas, allow for seamless height adjustments and smooth swiveling. Over time, leakage or mechanical fatigue can lead to sagging or outright failure. Ignoring these signs only exacerbates the discomfort. Recognizing the problem early and acting promptly ensures your chair remains as functional and supportive as the day you bought it.
Selecting The Right Replacement Cylinder
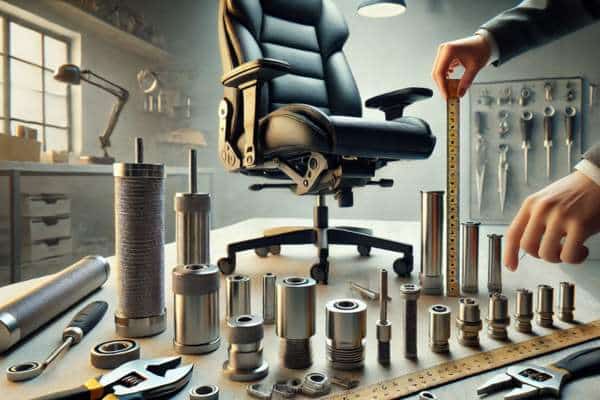
Replacing your office chair cylinder is not a one-size-fits-all endeavor. Cylinders come in various sizes, weight capacities, and stroke lengths, each suited to specific chair models. Measure the current cylinders diameter and height, both fully extended and collapsed. Consult your chair’s manufacturer for exact specifications. Choosing between standard, heavy-duty, or extended-height cylinders depends on your usage and comfort preferences. Missteps in selection can lead to instability or functionality issues.
Tools And Materials You’ll Need
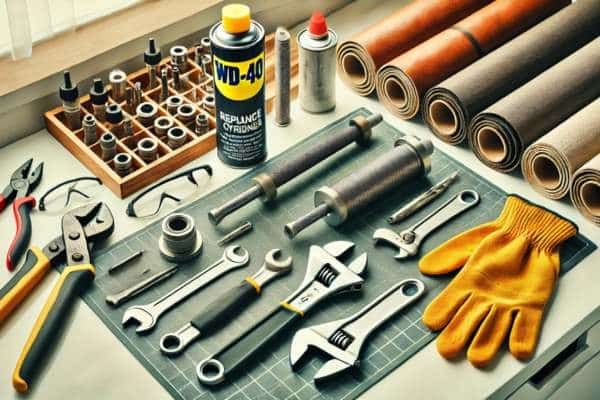
Preparation transforms potential frustration into seamless execution. Equip yourself with the following tools:
- Pipe wrench or adjustable wrench: Essential for gripping and twisting the old cylinder.
- Rubber mallet: For dislodging stubborn components.
- WD-40 or penetrating oil: Eases the removal of tightly sealed connections.
- Replacement cylinder: Ensure it’s compatible with your chair model.
- Protective gloves: Safeguard your hands during the process.
- Work mat: Prevents damage to floors or work surfaces.
Assembling these items beforehand eliminates unnecessary interruptions.
Preparing For The Replacement

Start by clearing a dedicated workspace. Place your chair upside down on a sturdy, padded surface to protect its finish. Applying a small amount of WD-40 to the cylinder’s base can loosen stubborn connections. Allow it to sit for a few minutes before proceeding. Ensure all your tools are within easy reach to maintain workflow efficiency. A little forethought here saves time and frustration later.
Removing The Old Cylinder
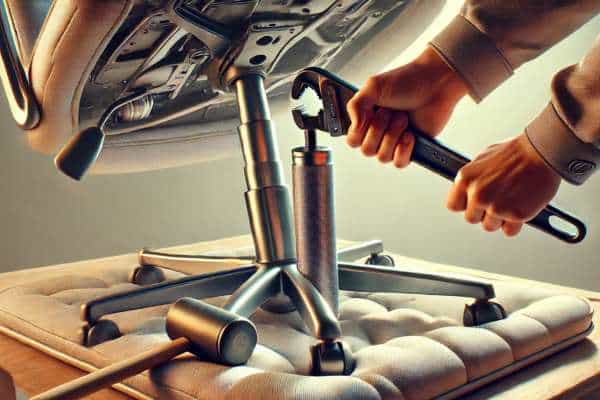
Detaching the old cylinder is the most physically demanding part of the process. Begin by firmly gripping the cylinders with a pipe wrench near its base. Twist counterclockwise with steady pressure. Stubborn cylinders may require gentle taps with a rubber mallet to break the seal. Avoid excessive force to prevent damaging surrounding components. Once loosened, carefully pull the cylinder free.
Installing The New Cylinder
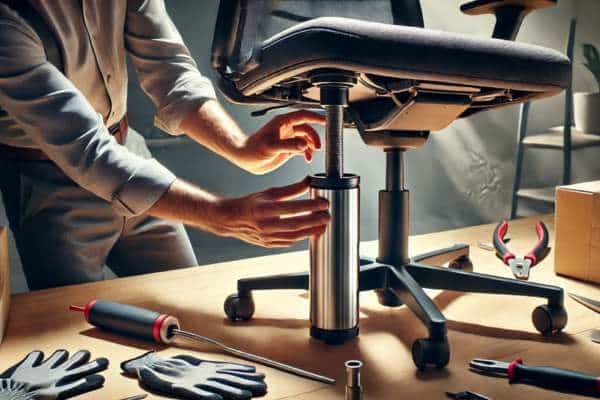
Slide the replacement cylinder into the chair base, ensuring its tapered end fits snugly into the socket. Avoid excessive force; the cylinders should seat naturally with light pressure. Align the chair’s upper section with the newly installed cylinder, ensuring a secure connection. This alignment is critical to prevent wobbling or uneven movement during use.
Properly Aligning The New Cylinder

Precision in alignment is non-negotiable. While holding the chair steady, double-check that the cylinders is perpendicular to the base. Misalignment can cause instability or irregular height adjustments. Enlist a helping hand if necessary to keep the components steady while securing the connection.
Testing The Chair After Installation
Moment of truth: Return the chair to its upright position and test its functionality. Sit down and adjust the height several times, ensuring the cylinder operates smoothly. Swivel the chairs to verify stability. If issues arise, revisit the installation steps to confirm all components are correctly aligned and secure.
Securing The Cylinder Tto Ensure Stability
To lock the new cylinder in place, tighten all screws and bolts connecting the chair base. Double-check the cylinders seating within the base. A properly secured cylinder ensures longevity and eliminates the risk of sudden detachment during use.
Fixing Height Adjustment Problems Post-Installation
Encountering height adjustment problems after installation is rare but not unheard of. Inspect for dirt or debris obstructing the cylinder’s movement. Apply a small amount of WD-40 to lubricate the mechanism and test again. Persistent issues might indicate a defective cylinder, warranting a replacement or consultation with the manufacturer.
Measure For A Perfect Fit
Precision measurements are the cornerstone of a successful replacement. Measure the distance from the chair seat to the floor in both fully extended and fully retracted states. Compare these measurements with the manufacturer’s specifications to confirm a perfect fit. A precise match guarantees ergonomic comfort and smooth operation.
Trusted Brands And Where To Buy
For reliability and durability, opt for trusted brands like Flash Furniture, HON, or Office Star. These manufacturers offer high-quality cylinders tailored to various chair models. Purchase from reputable retailers such as Amazon or specialty office supply stores to avoid counterfeit products. Always check customer reviews and product ratings before buying.
Frequently Asked Questions
What Tools Do I Need to Replace an Office Chair Cylinder?
You’ll need a pipe wrench or adjustable wrench for gripping and twisting, a rubber mallet to loosen stubborn connections, WD-40 or penetrating oil to ease tight seals, protective gloves for safety, and a compatible replacement cylinders. A work mat can protect your surface, and screwdrivers may be helpful for additional disassembly.
How Do I Remove the Old Cylinder from My Office Chair?
Turn the chair upside down to access the base. Use a pipe wrench to firmly grip the cylinder and twist counterclockwise. If it’s stuck, apply WD-40 and lightly tap with a rubber mallet to loosen it before pulling it out carefully.
Final Thoughts
Understanding how to replace an office chair cylinder is a practical skill that can save you money and extend the life of your chairs. By following simple steps like removing the old cylinder, installing the new one, and ensuring proper adjustments, you can restore your chair’s functionality in no time. This DIY approach is cost-effective, reduces waste, and enhances comfort for prolonged use. Whether you’re refreshing a home office setup or fixing workplace furniture, mastering this process ensures your chair remains a reliable part of your workspace for years to come.