
Looking to add a touch of elegance to your space? Learn how to hang metal wall art on drywall with ease and precision. This guide offers professional tips for securely mounting your metal art without damaging your walls. Whether you’re dealing with lightweight pieces or heavier designs, proper tools and techniques ensure your art stays in place. From choosing the right anchors to finding the perfect wall spot, discover everything you need to elevate your décor. Transform your plain drywall into a stunning visual showcase while protecting its integrity. With the right approach, hanging metal wall art becomes a straightforward task, letting you enjoy a stylish and polished finish in any room of your home.
Understanding Your Metal Wall Art
Before embarking on the journey of hanging your metal masterpiece, it’s imperative to familiarize yourself with the nature of the piece. Metal artsy comes in myriad designs and materials, each influencing the weight, appearance, and required installation methods. From sleek, minimalist aluminum to bold, intricate wrought iron, the type of metals and construction of your artwork will dictate how it should be hung.
Some pieces arrive with pre-installed mounting hardware, while others may necessitate the selection of suitable hanging tools and accessories. Whether your art is light as a feather or heavy enough to require extra support, understanding its weight and structure is key to determining the appropriate hanging solution. Only then can you ensure that the installation is both secure and visually striking.
Essential Tools And Materials You’ll Need
To hang metal wall art securely on drywall, the right tools are non-negotiable. Gather the following materials to guarantee a successful installation:
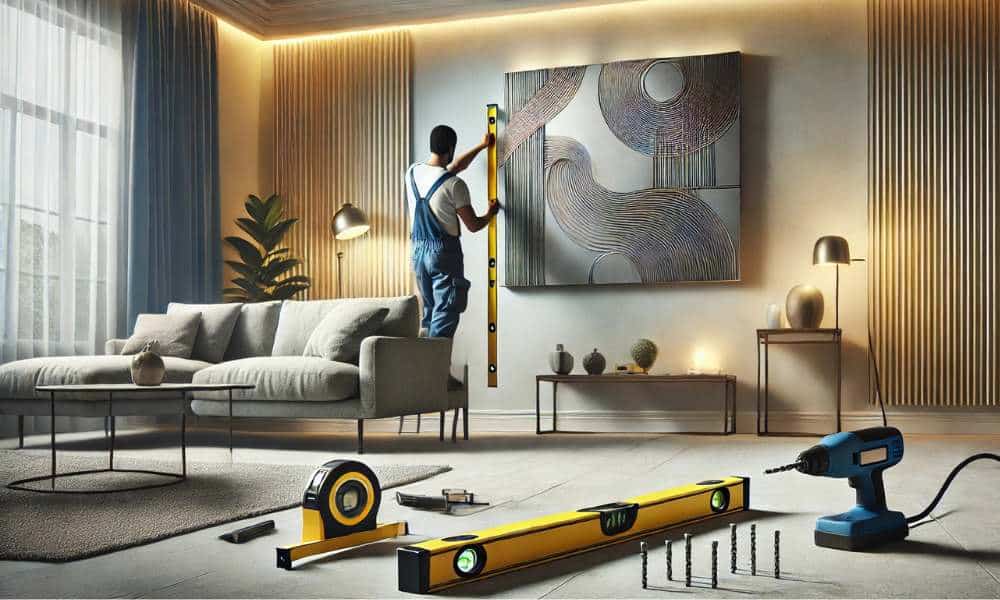
- Measuring Tape: Precision is paramount when placing artwork. Use measuring tape to mark your desired hanging location with accuracy.
- Level: Avoid crooked displays by ensuring your artsy hangs perfectly straight. A level is an indispensable tool for achieving horizontal alignment.
- Pencil or Chalk: Light, temporary marks will allow you to trace the exact spots where hardware will be installed.
- Screwdriver: Tighten screws and secure hardware firmly in place.
- Anchors or Toggle Bolts: Heavy-duty anchors or toggle bolts will provide the necessary support for larger metals pieces.
- Drill: Drill holes with care, ensuring they are properly sized for anchors or screws.
- Stud Finder: A stud finder helps locate hidden studs behind the drywall, offering additional support for particularly heavy artworks.
- Safety Gear: Safeguard your hands and eyes with gloves and safety glasses during installation.
Equipped with these tools, you’re ready to install your metal art on drywall with confidence.
Different Types Of Metal Wall Art
The diversity in metals wall artsy is staggering. Understanding the different types will help you determine the best approach for installation. Here are a few common varieties:
- Flat Metal Art: Typically crafted from thin sheets of metal, these pieces boast clean, minimalist designs. While lightweight, even large flat artworks require sturdy hanging solutions, like heavy-duty anchors.
- 3D or Sculptural Metals Artsy: These works add depth and texture, protruding from the wall in dynamic forms. The added bulk means these pieces demand more robust mounting techniques.
- Metal Panels and Tiles: Composed of multiple metal segments, these artworks often require a more intricate installation process. Depending on their size and structure, multiple anchors or screws may be necessary for secure hanging.
- Metals Wall Sculptures: These complex works, often heavy and detailed, demand secure mounting with toggle bolts and screws to prevent them from shifting or falling.
The weight and design of your chosen metal art will guide the installation method, ensuring the art remains firmly anchored in place.
Preparing Your Wall For Hanging Metal Art
A secure hanging begins with a properly prepared wall. Here’s what you need to do before you begin installation:
- Assess the Drywall Condition: The wall must be structurally sound to bear the weight of your artwork. If the drywall is cracked or damaged, repairs may be necessary.
- Locate Wall Studs: If possible, locate the studs behind your drywall. Studs offer extra support for heavy pieces. A stud finder can make this task easier.
- Consider the Wall Type: If you’re hanging artsy on plaster or a different material, you may need specialized hardware to ensure stability.
Properly preparing the wall ensures that your metal art will hang securely without compromising the integrity of your drywall.
Considering Weight And Size Before Hanging
The weight and size of your metal canvas wall art will significantly influence the hardware and installation technique required. Large, heavy artworks demand extra support, as drywall alone often lacks the strength to hold them. Here’s a breakdown of the necessary considerations:
- Lightweight Art: Small, lighter pieces can be hung using simple nails, picture hooks, or screws.
- Heavy Artsy: For larger, heavier works, toggle bolts or screws anchored into wall studs are essential to avoid accidents or damage to the drywall.
Choosing the correct hanging hardware is vital for ensuring the safety and longevity of your display.
Choosing The Perfect Spot For Your Metal Wall Art
The right placement of your metal wall art is just as important as the installation process itself. Placement affects not only the aesthetic appeal but also how the artwork interacts with the space around it. Consider these key factors:
- Lighting: Both natural and artificial light play a crucial role in highlighting the beauty of metal art. Pay attention to how light reflects off the metals surface.
- Room Flow: Be mindful of traffic patterns and furniture placement. Your artsy should not obstruct walkways, but rather serve as a focal point or complement the room’s design.
- Wall Space: Measure the available wall area before deciding where to hang your artwork. Oversized pieces can overwhelm smaller walls, while smaller pieces may be lost on expansive surfaces.
Experiment with different locations before settling on the perfect spot to display your metal art.
Choosing The Right Wall For Metal Art
While drywall is a common surface for hanging metal art, not all drywall is suitable for the task. Be mindful of the wall’s thickness and integrity. Thin drywall or walls without studs may not provide sufficient support for heavy metals pieces. For best results, ensure that the walls is capable of holding the weight of your artwork before beginning the installation.
Cleaning And Prepping The Wall Surface For A Secure Hold
A clean walls ensures a stronger hold for the hanging hardware. Before drilling or installing anything, clean the surface thoroughly. Dust, dirt, or moisture can interfere with the adhesive properties of the fasteners, leading to a less secure installation. Use a soft cloth and mild cleaner to remove any debris from the wall.
Benefits Of Screws And Toggle Bolts For Metal Art
When it comes to heavy metal wall artsy, screws and toggle bolts offer superior support compared to nails or picture hooks. These fasteners distribute the weight of the artwork evenly across the wall, reducing the risk of damage. Toggle bolts are particularly effective when studs are not easily accessible, providing a secure hold even in hollow drywall. The proper hardware guarantees long-lasting stability for your art.
Choosing The Right Hanging Hardware For Metal Wall Art On Drywall
Selecting the appropriate hanging hardware is critical for ensuring that your metal artsy stays securely in place. Consider the following options:
- Picture Hooks: Ideal for lighter, smaller pieces of metal art.
- Screws: Suitable for medium-weight artworks, screws provide a reliable solution for most metals pieces.
- Toggle Bolts: For heavy artsy, toggle bolts offer a secure hold even without studs.
Using the correct hardware based on the weight and design of your artwork will ensure that your installation is both safe and durable.
Step-By-Step Guide To Hanging Metal Wall Art On Drywall
1. Measuring and Marking Your Walls Begin by measuring the desired location for your metal art. Use a pencil to mark the top center of the artwork. Ensure that the piece will be centered by measuring the distance from the edges of the wall to your mark.
2. Installing Anchors Securely Without Damaging the Drywall If your metals artwork requires additional support, use a drill to install anchors or toggle bolts into the wall. Be careful not to overtighten, as this could cause the drywall to crack.
3. Hanging Your Metal Artsy Securely on the Walls Once the anchors or screws are in place, hang your artwork by aligning the mounting brackets or hooks with the fasteners. Double-check the alignment with a level to ensure that your artwork is perfectly straight.
Safety Considerations When Hanging Metal Wall Art
While hanging metal wall art may seem straightforward, safety should always be a priority. Wear safety glasses and gloves to protect yourself during installation, and consider enlisting help if you’re working with large, heavy pieces. If possible, use a stud finder to locate wall studs for added security.
FAQs
1. Can I Hang Large Metal Wall Art on Drywall?
Absolutely. Large metal walls art can be hung on drywall, provided the proper hanging hardware is used. Toggle bolts or screws anchored into studs offer the best support for heavier pieces.
Final Thoughts
Hanging metal wall art on drywall doesn’t have to be challenging if you follow the right steps. Start by selecting the proper hardware, such as wall anchors or picture-hanging hooks, to ensure secure mounting. Measure and mark your placement to achieve a balanced look, then carefully drill or hammer into the drywall to install the hardware. Finally, hang your metals wall art securely and step back to admire your work. With these tips, you can transform your space with stylish decor while keeping your walls intact and your art safely displayed.