
Ever had your morning coffee interrupted by a puddle under your machine? I sure have—and nothing tests your patience like cleaning up before caffeine. If you’re wondering how to fix a coffee maker that leaks water, don’t worry, most issues come down to simple things like worn gaskets, a cracked reservoir, or mineral buildup.
I once found my old brewer leaking from the bottom, only to discover the culprit was a loose tube I’d ignored for months. In this guide, I’ll show you exactly how to spot and fix those leaks—from coffee machine water reservoir leaks to quick gasket replacements—so you can get back to brewing without the mess.
Why Coffee Makers Start Leaking (Common Causes You Should Know)
Most coffee maker leaks come from simple causes. A cracked water reservoir or loose seal often lets water drip underneath, especially after months of use. Once I found a tiny crack in mine, replaced it, and the leaking stopped for good.
Sometimes it’s just worn-out gaskets or tubing. Those rubber parts weaken from daily heat and pressure, and a quick replacement usually solves it. I once woke up to a wet counter because of one small gasket—lesson learned.
Mineral buildup is another hidden reason. Hard water clogs valves and forces pressure out through weak spots, but a quick descale keeps it clean.
And yes, even overfilling or clogged valves can cause trouble. Too much water or leftover grounds pushes liquid through seams, making it look like a major leak when it’s not.
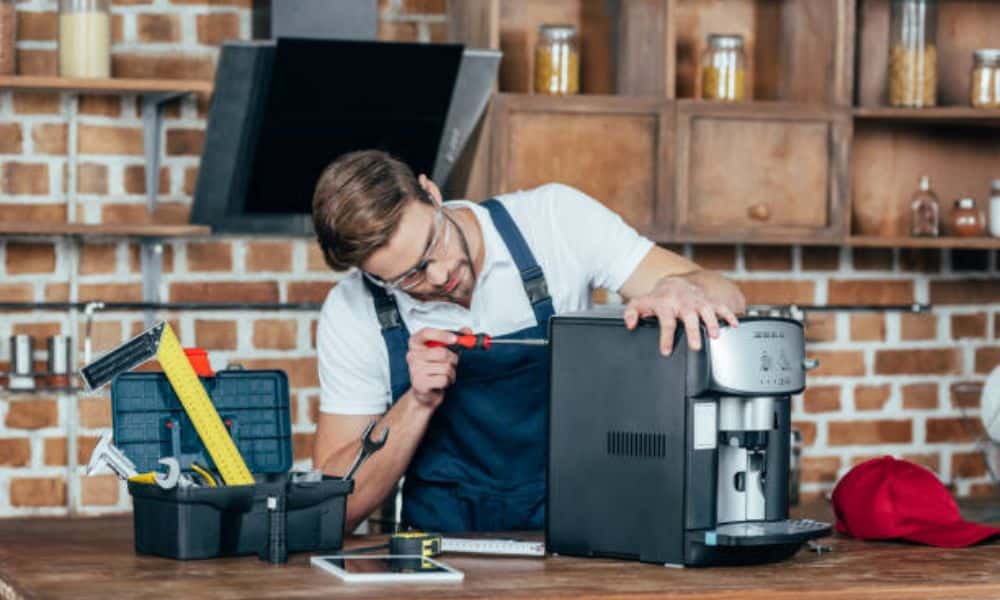
Step-by-Step Guide: How to Fix a Coffee Maker That Leaks Water
Step 1 – Unplug and Inspect Safely
Before doing anything, unplug your machine and make sure it’s completely cool. Check for drips or puddles under the base—this helps you spot where the water’s coming from. Wipe everything dry, including the power cord, before you start.
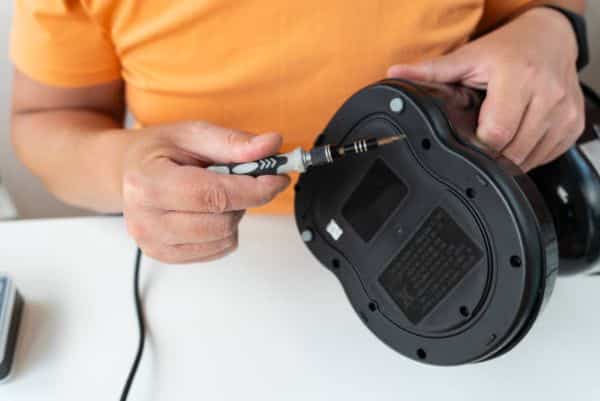
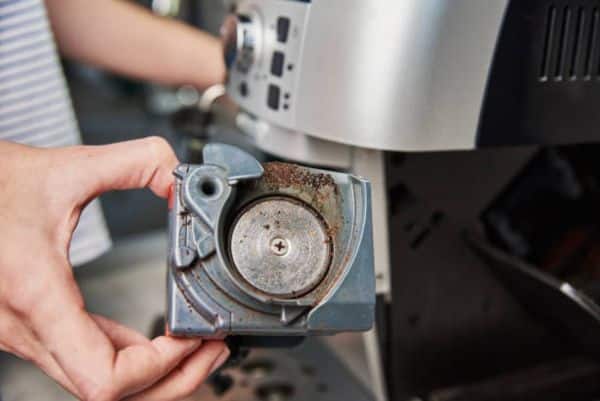
Step 2 – Locate the Leak Source
Take off the carafe and remove the water tank if possible. Look closely at the coffee machine water reservoir, tubing, and heating plate for small cracks or loose parts. Even a tiny crack can cause a steady drip.
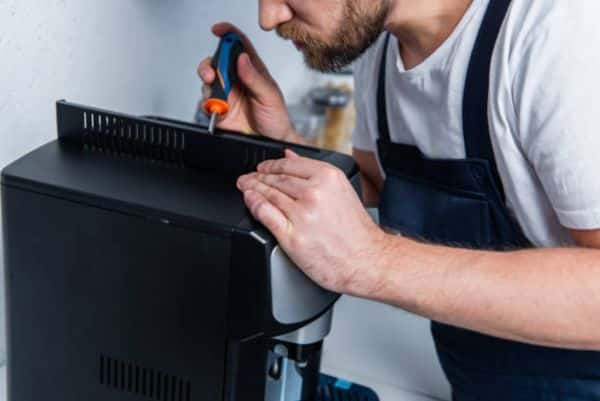
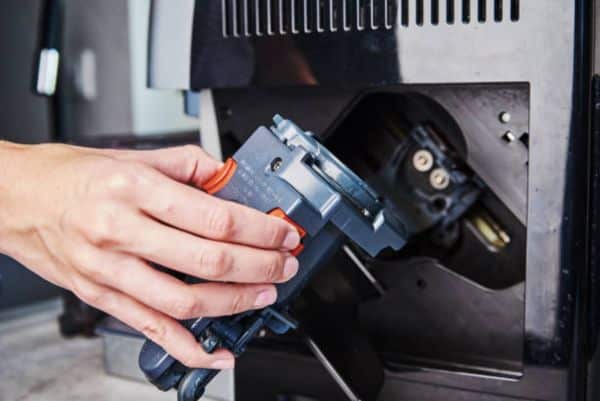
Step 3 – Repair or Replace Faulty Parts
If you spot damage, you can fix it yourself. Use food-grade silicone to seal minor cracks, or do a coffee maker gasket replacement if the rubber ring looks worn. For damaged tubes, check guides on how to fix cracked coffee maker tubing or grab an inexpensive repair kit online.
Step 4 – Clean and Reassemble
Before reassembling, give your coffee maker a deep clean. Descale it with vinegar or a coffee machine cleaner to remove mineral buildup. Rinse everything well—no one likes vinegar-flavored coffee.
Step 5 – Test for Leaks Again
Fill the tank with water and run a test brew without coffee. Watch carefully—no dripping means success! If it still leaks, recheck seals and tubing one more time.
How to Prevent Future Leaks (Maintenance Tips That Work)
Preventing leaks is easier than fixing them. Start by descaling every 2–4 weeks to remove mineral buildup that can block valves and cause hidden drips.
Always avoid overfilling the water tank—staying below the max line keeps pressure off seals and prevents overflow during brewing.
Make sure to replace gaskets and seals yearly since heat and steam wear them down over time. A quick swap keeps your coffee maker tight and leak-free.
Lastly, store your machine in a dry spot to stop moisture from damaging internal parts. Ever since I began cleaning mine monthly and keeping it dry, the leaks completely vanished. Upgrade to a best non-toxic coffee maker for a safer, longer-lasting brew without leaks or plastic taste.
Quick Troubleshooting Table (At-a-Glance Fixes)
| Problem | Possible Cause | Fix |
| Coffee maker leaking from bottom | Cracked reservoir or loose tube | Replace or reseal the part using a food-safe sealant or new tubing. |
| Water dripping from filter basket | Overfilled basket or clogged filter | Use less water and clean the filter after each brew to avoid overflow. |
| Coffee maker leaks when brewing | Faulty gasket or worn valve | Do a quick coffee maker gasket replacement to restore a tight seal. |
| Water leaking when off | Mineral buildup blocking internal valves | Descale the coffee maker thoroughly with vinegar or a cleaning solution. |
| Continuous leak from water tank area | Coffee machine water reservoir leak from cracks or bad fit | Replace the reservoir or seal the crack with food-grade silicone. |
| Small drip near tubing connection | Loose or cracked coffee maker tubing | Reconnect or replace tubing with a heat-resistant silicone line. |
These quick checks cover the most common causes of coffee maker leaks and simple fixes you can do at home with basic tools.
When to Replace Instead of Repairing Your Coffee Maker
Sometimes, even after fixing gaskets or tubing, your coffee maker still leaks water—and that’s a sign it might be time to move on. If leaks keep coming back despite repairs, the issue could be deeper inside the unit, like a cracked internal tank or worn-out seals you can’t reach.
Another clear reason to replace is when the heating element or control board fails. These parts are costly and tricky to repair, and most brands don’t sell replacements for older models.
As a rule of thumb, if repairs cost more than half the price of a new machine, it’s smarter to upgrade. Modern coffee makers are more energy-efficient, easier to clean, and often come with stronger gaskets that resist leaks better in the long run.
FAQs
Why is my coffee maker leaking from the bottom?
Most of the time, it’s due to a cracked water reservoir, loose tubing, or a worn gasket. Inspect the base and water tank for small cracks or leaks you might have missed.
How do I fix a coffee maker that leaks when brewing?
Check the brew basket, valves, and internal tubes for clogs or damage. Cleaning them out or replacing old parts often stops leaks instantly.
How often should I clean my coffee maker to prevent leaks?
Clean and descale every 2–4 weeks. This prevents mineral buildup that clogs valves and causes water to escape through weak spots.
Final Thoughts
After fixing my own leaky coffee maker twice, I learned that most leaks come from neglect, not defects. A few minutes of monthly care—cleaning, descaling, and checking seals—can keep your brewer running like new.
It doesn’t take much to protect your morning routine. Just a little attention keeps the water where it belongs and your coffee tasting perfect.
Try these steps today, and enjoy a mess-free, stress-free morning brew tomorrow.