
I still remember the first time I used my Nuwave air frye. The fries were golden, crispy, and oil-free. But by day three, I smelled something strange. Smoke came out, and the taste felt off. The reason? I hadn’t cleaned it. Learning how to clean Nuwave air frye saved me from burnt smells and soggy food. Now, I clean it after every use. It takes just minutes but makes a big difference. In this guide, I’ll show you how to keep your air frye fresh and safe.
Why Cleaning Your Air Fryer Is So Important
Skip a day, and your air frye may forgive you. Skip a few more, and it starts to show.
Old food bits hide in corners. Grease sticks to the tray. Smells get trapped. That smoky puff you see? That’s not flavor—it’s yesterday’s oil burning up.
Dirty parts don’t just ruin taste. They carry bacteria. Over time, that can make you sick. A greasy build-up also makes the fan work harder. This can shorten the life of your air frye.
Even the best air fryers under $50 need care. Cleaning keeps them safe, fresh, and running smooth. It’s simple, fast, and so worth it.
What You’ll Need Before You Start
Here’s what I use every time:
- Warm water
- Mild dish soap
- A soft sponge or cloth
- A small brush or old toothbrush
- Baking soda (for deep cleaning)
- A dry towel or paper towels
Step-by-Step: How to Clean Nuwave Air Frye Safely and Easily
Step 1: Unplug and Let It Cool
Always start by unplugging the air frye. Give it time to cool. Cleaning it while hot can be dangerous and messy.
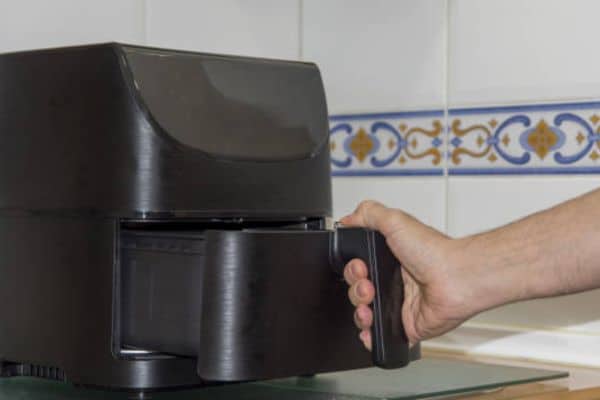
Step 2: Take Out the Basket and Tray
Gently slide out the basket and tray. These parts catch all the food bits and grease.
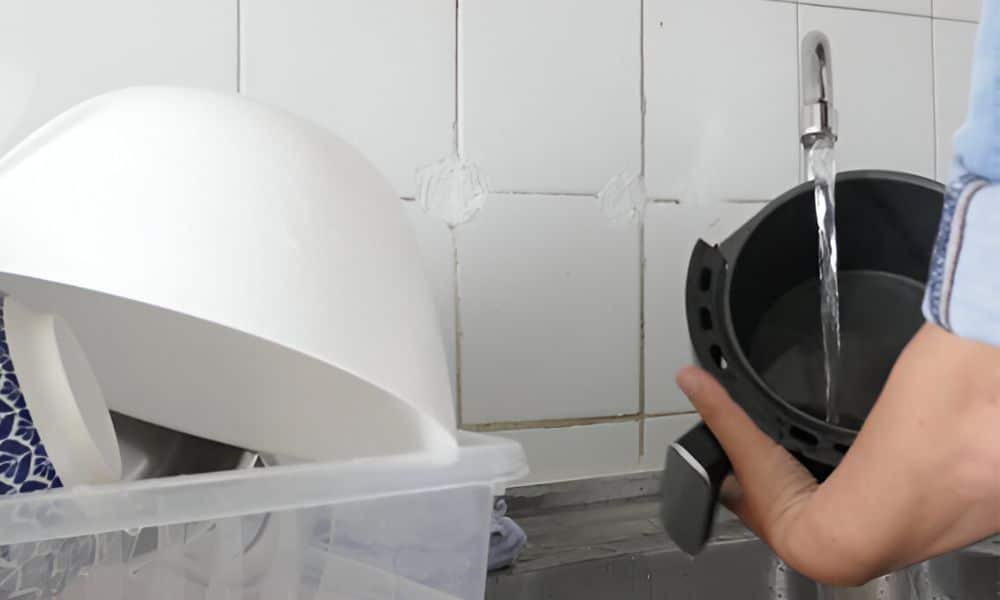
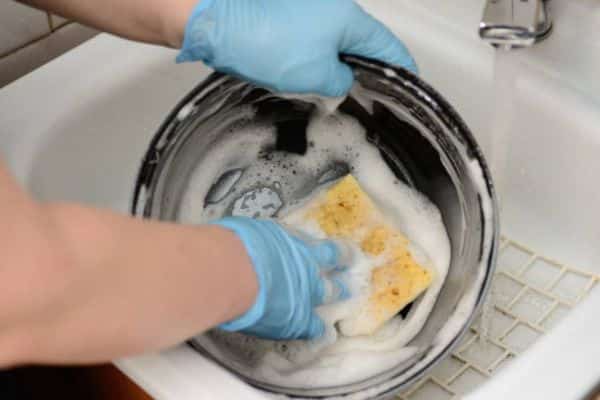
Step 3: Soak in Warm Soapy Water
Fill your sink or a bowl with warm water. Add a few drops of dish soap. Let the basket and tray soak for 10 to 15 minutes. This helps loosen stuck food.
Step 4: Wipe the Inside Carefully
Use a damp cloth to wipe the inside of the fryer. Reach under the heating element if you can. Be gentle. Never pour water inside.
Step 5: Scrub the Parts Gently
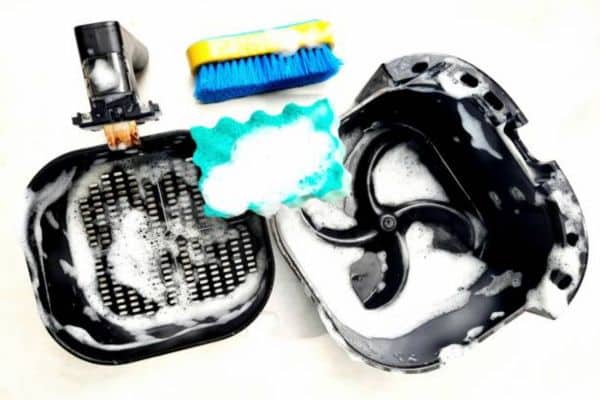
After soaking, use a soft sponge or toothbrush to scrub off any grease. For tough spots, sprinkle a little baking soda. It works like magic.
Step 6: Clean the Outside
Wipe down the outside with a clean, damp cloth. This keeps it looking fresh and removes any oil splashes.
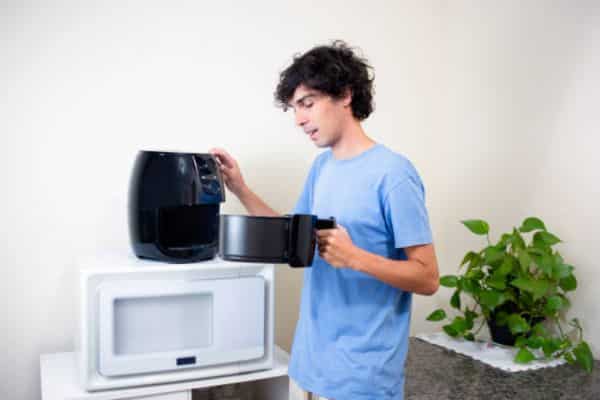
Step 7: Let Everything Dry and Reassemble
Use a towel to dry all the parts. Or let them air dry fully. Then put everything back in place.
Monthly Deep Cleaning: For Stubborn Grease and Smells,
Here’s my go-to method using baking soda. It’s safe, cheap, and works like a charm.
Step-by-Step Deep Clean with Baking Soda:
- Make a paste – Mix baking soda with warm water. It should be thick, like toothpaste.
- Spread it on – Rub the paste onto the basket, tray, and any greasy spots.
- Let it sit – Wait for 15–20 minutes. This gives the paste time to break down the grime.
- Scrub gently – Use a soft sponge or old toothbrush to scrub.
- Rinse well – Wash everything with warm water. Dry fully before using again.
This method lifts old, burnt-on food without damaging the surface. I do this once a month—or more if I’ve cooked something messy.
My Pro Cleaning Tips After Years of Use
After years of daily use, I’ve learned a few tricks that make cleaning easier—and keep my air frye running like new.
These tips come straight from my kitchen. They work on every model, no matter the price.
Use Parchment Liners
These little sheets catch grease, crumbs, and sticky sauces. I pop one in before every cook. Cleanup takes half the time. No more scrubbing.
Skip Aerosol Sprays
Sprays with additives leave a sticky layer that’s hard to clean. I use a refillable oil mister instead. A light spray of pure oil does the job better.
Wipe It After Every Use
Yes, every time. Just a quick rinse and wipe before food dries out. It’s much easier than cleaning a week’s worth of grease.
What NOT to Do (Based on My Mistakes)
Let’s be honest—I’ve made a few cleaning mistakes. They seemed harmless at the time, but they almost ruined my fryer.
So here’s what not to do. Trust me, these lessons came the hard way.
Don’t Submerge the Unit
The base has wires and heat parts inside. Water can damage them. Always wipe it gently with a damp cloth. Never dunk it in the sink.
Don’t Use Steel Wool
I tried this once on a tough spot. It scratched the nonstick coating. Now I stick to soft brushes and sponges only.
Don’t Leave It Dirty Overnight
Grease hardens fast. Crumbs dry like glue. Cleaning the next day takes twice the effort—and the smell gets worse.
Frequently Asked Questions
Can I put the basket in the dishwasher?
Yes—most Nuwave baskets and trays are dishwasher-safe. But I still wash mine by hand. It’s faster, and it helps the coating last longer. This is true for most models, even the best air fryers under $50.
How often should I clean it?
After every use. A quick rinse and wipe is all it takes. Waiting too long makes grease harder to remove.
Why does it still smell bad after cleaning?
Smells come from hidden food bits or grease near the heating element. Try a deep clean with baking soda. Air frying lemon slices for a few minutes also helps.
Final Thoughts
Cleaning your air frye isn’t just about looks. It’s about flavor, safety, and making your food the best it can be. A clean fryer gives crispier fries, juicier chicken, and zero smoke or smell.
I’ve learned that a few minutes of care go a long way. Whether you own a top-tier model or one of the best air fryers under $50, they all need the same love. No fryer cleans itself—yet!