
My kettle and I have shared years of quiet mornings. One day, I poured my usual cup and paused. Something tasted strange. A dull, bitter edge had crept into my tea.I checked the kettle. The bottom was lined with a thick white crust. Steam had started to smell off. It boiled slower too. That buildup? It’s called limescale. It comes from minerals in water. Left alone, it ruins taste, slows heating, and can damage the kettle. I found a fix that worked every time. No harsh chemicals. Just vinegar. Learning how to clean a tea kettle with vinegar changed my routine. It was easy, fast, and safe.T oday, I’ll show you exactly how I do it. My steps are simple.
What You’ll Need Before You Start
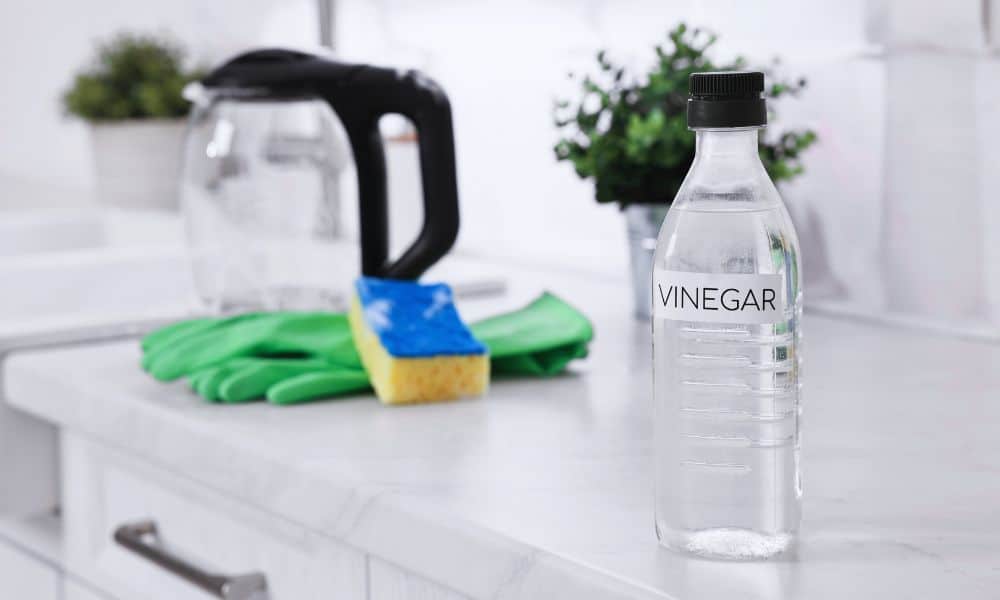
Before you begin, gather a few basics. You won’t need anything special. Most items are already in your kitchen. That’s what makes this so easy.
Here’s what I use every time:
- White vinegar
- Clean water
- Soft sponge or cloth
- An old toothbrush
- Baking soda (optional, for extra shine)
This simple mix does the trick. I keep everything in one spot, so it’s always quick to grab. When everything’s ready, cleaning feels less like a chore.
Step-by-Step Guide: How to Clean a Tea Kettle with Vinegar
This process is quick and stress-free. You’ll only need a few minutes and simple ingredients. It works for both metal and glass kettles, and it’s safe to repeat as needed.
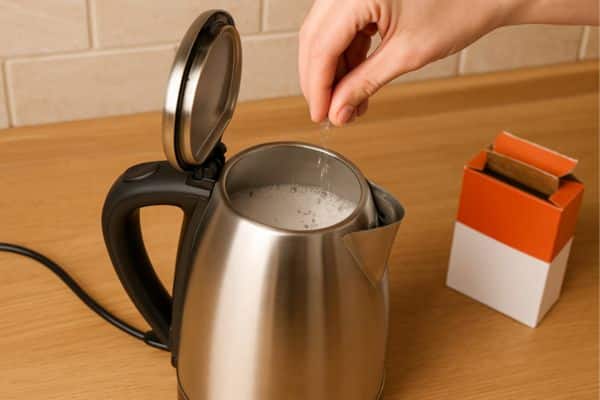
Step 1: Fill the kettle
Pour in equal parts of white vinegar and clean water. I usually go halfway up the kettle. That’s enough to cover the buildup inside.
Step 2: Bring it to a boil and let it sit
Turn on the heat and let the mixture reach a full boil. Once it boils, turn off the heat. Let it sit for 15 to 30 minutes. This helps break down the limescale inside.
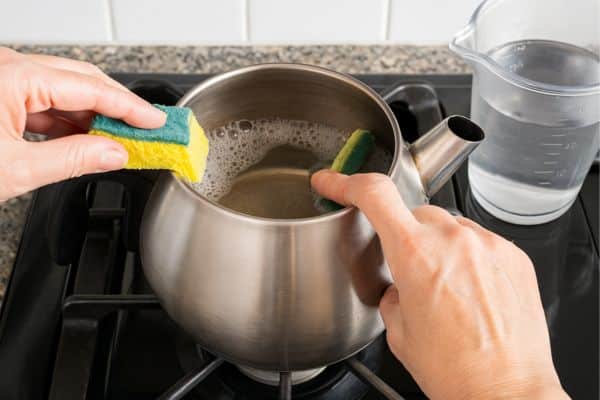
Step 3: Scrub gently inside
Open the lid. Use a soft sponge or old toothbrush to scrub the inner walls and bottom. Most of the gunk wipes right off. No need to scrub hard.
Step 4: Rinse and boil clean water
Dump the mixture. Rinse the kettle well with clean water. Fill it again with plain water and boil once more. This helps remove any leftover vinegar taste or smell, which is especially important if you use a best non toxic electric tea kettle.
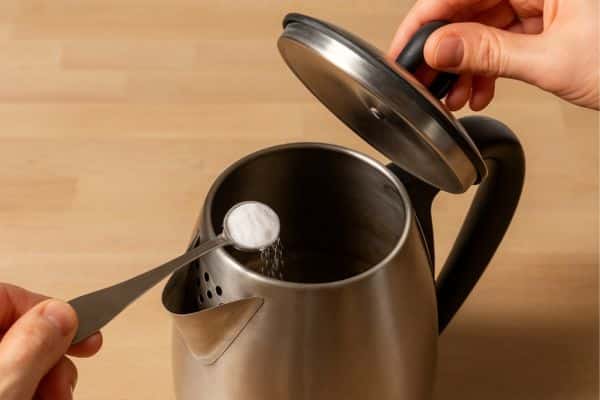
Optional Step: Add baking soda
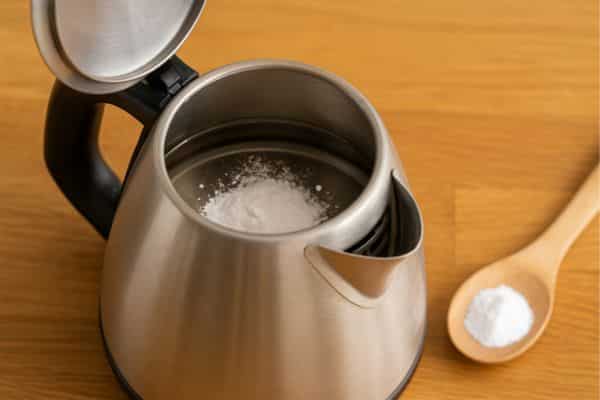
I sometimes sprinkle a little baking soda before scrubbing. It lifts stains and helps neutralize the vinegar. This step isn’t required, but it gives a nice shine.
This is a great way to descale a kettle without using harsh chemicals. It’s cheap, natural, and easy. Once I learned how to clean a tea kettle with vinegar, I never looked back. You’ll be amazed how fresh your tea tastes after this simple reset.
Special Notes for Electric Kettles
Electric kettles need a bit more care. The cleaning steps are almost the same, but safety comes first. These kettles have a heating base or wires that can’t get wet.
Can you use vinegar in an electric kettle?
Yes, most electric kettles handle vinegar just fine. I’ve cleaned mine many times this way. But always check the manual first. Some brands suggest other methods.
How to clean electric kettle safely
Unplug the kettle. Let it cool before you touch the inside. Then add equal parts vinegar and water, just like before. Boil it. Let it sit. Rinse well. And always avoid soaking or splashing the base.
Watch for warnings
Some kettles have metal coils, some have covered bases. A few may say not to use vinegar. That’s why a quick read of the label or manual helps. I learned this after almost damaging my first one.
How Often Should You Clean or Descale a Kettle?
This depends on the water in your area. Hard water leaves more minerals behind. That means more buildup, more often.
If you use your kettle daily, once a month is a good habit. It keeps your tea tasting clean. It also helps your kettle last longer.
There are signs your kettle needs cleaning. Boiling takes longer. Steam smells odd. Water may look cloudy. These are all clues that limescale is building up again.
I try not to wait for the signs. A regular clean keeps everything smooth and simple. It also saves time in the long run.
Mistakes to Avoid When Cleaning with Vinegar
A few common mistakes can make it less effective—or even cause damage. I’ve made some of these myself, so here’s what to watch out for.
Using too much vinegar
A little goes a long way. I stick to a 1:1 ratio of vinegar and water. Stronger mixtures don’t clean better—they just smell worse and may stress the material.
Forgetting to rinse thoroughly
After cleaning, rinse well. Then boil fresh water once before using the kettle again. This clears out any leftover smell or taste. I skipped this once, and my tea tasted like salad dressing.
Cleaning copper kettles with vinegar
Avoid vinegar on copper. It can stain or dull the finish. Copper looks lovely but needs gentler care. Try lemon juice and baking soda instead.
Alternatives to Vinegar (When and Why)
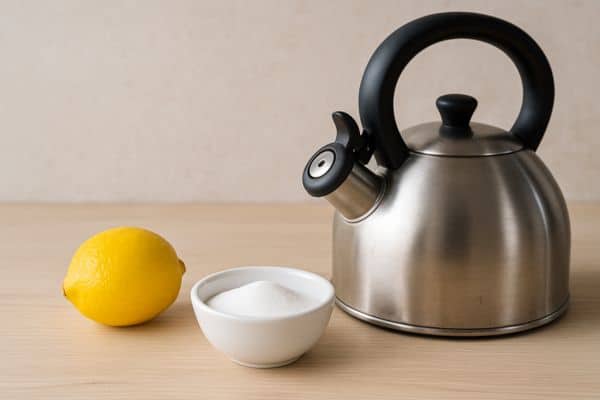
Lemon juice
Lemon juice is a gentle, natural cleaner. It smells fresh and cuts through mineral buildup like vinegar. Just squeeze a lemon, mix with water, and follow the same boiling process.
Citric acid
This powder works fast. It’s often used in descaling tablets. Just dissolve a spoonful in water, boil, and let it sit. It’s strong, safe, and leaves no smell.
Best choice for sensitive users
If you’re sensitive to vinegar or cleaning a copper or speciality kettle, go with lemon or citric acid. Both are gentle and effective. I switch to lemon on days I want my kitchen to smell bright instead of sharp.
Final Thoughts
A clean kettle makes better tea. It boils faster, tastes fresher, and looks better on the counter. It also lasts longer with less wear and tear.
Vinegar works well. So do lemon and citric acid. Each method takes only a few minutes. No special tools. No stress.
Make this part of your kitchen routine. I do it once a month. That way, there’s no buildup, no bad taste, and no guesswork.
You don’t need to be an expert. Just follow the steps, keep it gentle, and stay consistent. The result? A smoother sip, every single time.