
A kettle’s soft whistle brings calm. It’s more than hot water—it’s the start of a warm day. Mine lives on the stove, always ready to help. Tea, coffee, or steam on a cold morning—it does it all. But one day, the water tasted odd. I looked inside and saw a crusty white build-up. Not pretty. That’s the day I gave it the care it needed. I skipped harsh cleaners and grabbed baking soda. It’s safe, simple, and works great. Here’s how to clean a kettle with baking soda. Step by step. Fast, easy, and gentle on the metal.
Why Use Baking Soda to Clean Your Kettle?
It is simple, safe, and strong. It breaks down stains, removes build-up, and freshens metal. No harsh smell. No harsh side effects. It’s gentle on kettles, even stainless steel and aluminium ones.
This kitchen staple also costs very little. You can clean your fridge, Freshen carpets, and even polish your sink with it. It handles grease, Odours, And more—all without damage. So it’s no surprise it works wonders inside a kettle. For an even healthier experience, Pair it with the Best Non Toxic Electric Tea Kettle for clean water every time.
Step-by-Step Instructions

Whether you have An electric kettle or a stovetop model, The steps are quite similar. Here’s how I clean mine every couple of months—Or sooner if the water starts tasting “off.”
Step 1: Gather Your Supplies
Here’s what you’ll need:
- Baking soda – about 1 to 2 tablespoons
- Water – enough to fill the kettle halfway
- Soft sponge or brush
- Clean cloth or towel
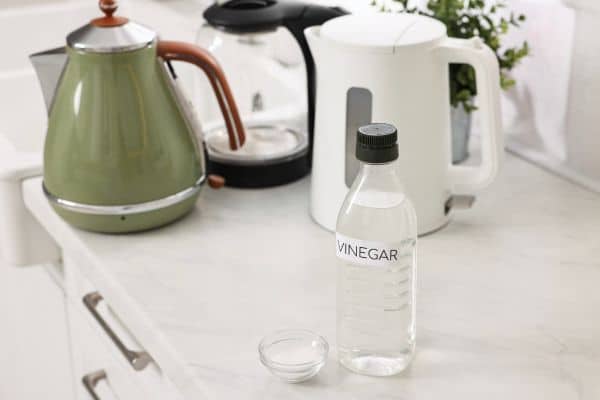
- Optional: lemon juice or white vinegar (for extra deep cleaning)
Step 2: Make the Cleaning Solution
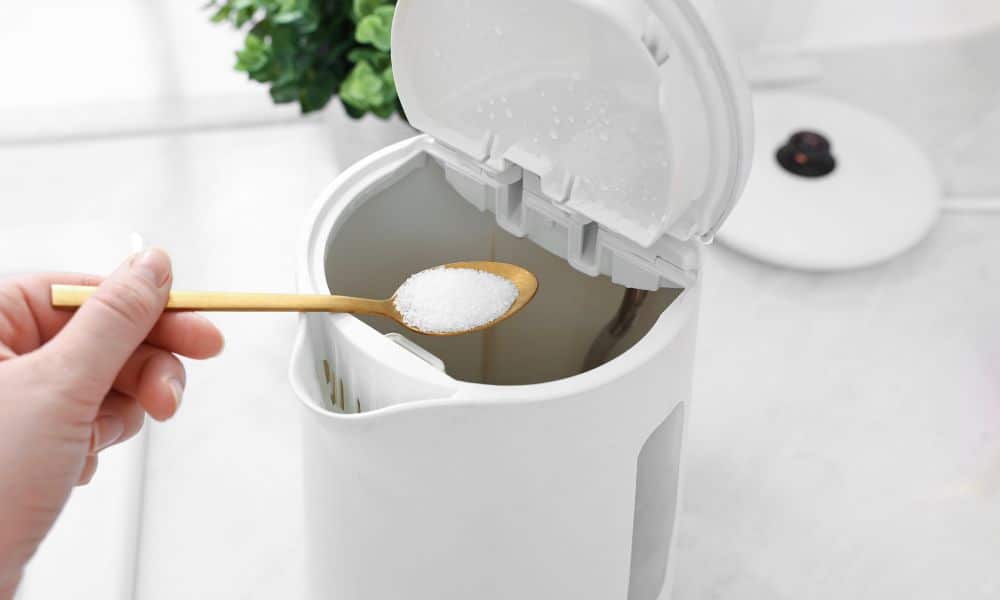
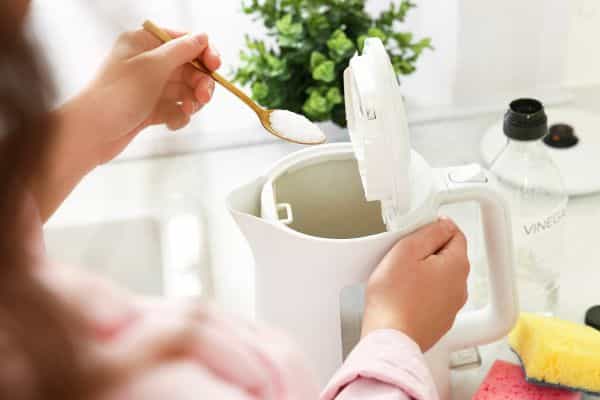
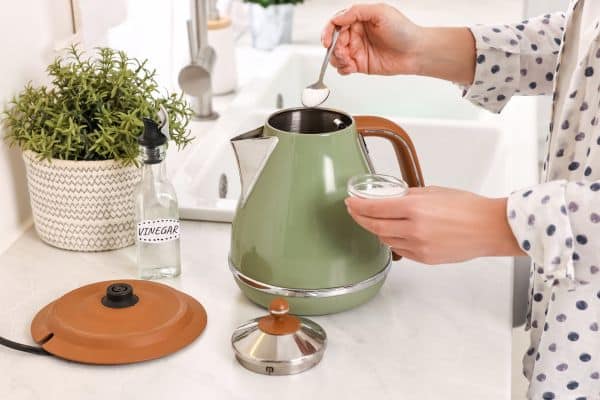
Fill your kettle about halfway with water. Add 1 to 2 tablespoons Of soda directly into the water.
Give it a gentle swirl or stir to help the soda dissolve. If you’re dealing with serious scale build-up, you can also add A tablespoon of lemon juice for A natural boost—it reacts with the And creates A fizzing action that helps loosen the grime.
Step 3: Boil the Solution
Turn on your kettle And let the baking soda solution come to A full boil. This heat-activated step helps the work its magic, Breaking down limescale And removing stains clinging To the interior.
Once it’s boiled, turn off the kettle And let the hot solution sit For 15 to 20 minutes. This soaking time allows the residue To soften And detach.
Step 4: Scrub (Gently!)
After the soak, Pour out the solution (careful, It may still be warm). Take a soft sponge or bottle brush And gently scrub the inside of the pot. You’ll likely see the limescale lift right off, Especially if this is part Of your regular cleaning routine.
Avoid using anything abrasive like steel wool, As it can scratch the interior And shorten your kettle’s lifespan.
Step 5: Rinse Thoroughly
Rinse the kettle thoroughly with clean, Cool water—at least 2 to 3 times. You want To make sure all the soda residue Is gone before your next boil.
To double-check, Fill the pot with water and bring it to A boil once more. Then discard that water. This “boil and toss” step helps ensure there’s no lingering taste in your tea Or coffee.
Step 6: Wipe the Exterior (Optional but Nice!)
While you’re at it, Why not give the outside of your pot a little spa treatment? Mix a bit of soda with water To create a paste. Rub it gently onto the outside with A soft cloth, Then rinse and dry with a clean towel. This can remove smudges, Fingerprints, And minor stains, Leaving your pot looking as good as new.
Pro Tips from My Kitchen to Yours
Let’s be real—every kettle has its quirks. Over the years, I’ve learned a few tricks that make the cleaning process even smoother:
Use Filtered Water if Possible
Hard water is the biggest culprit behind limescale. If you switch to filtered or softened water, you’ll notice less mineral build-up and fewer cleaning sessions needed.
Clean Monthly to Avoid Heavy Build-Up
Set a reminder to clean once a month. It’s easier to prevent heavy scaling than to scrub it away later. A quick rinse once a month saves a lot of hassle.
Don’t Overdo the
A little goes a long way. Using too much can create a salty aftertaste and take longer to rinse. Stick to 1–2 tablespoons per cleaning session.
Watch Out for Electric Kettle Heating Elements
If you have an electric pot with a visible heating coil, don’t scrub it directly. Let the soda solution do the work. Scrubbing can damage or dislodge delicate parts.
Baking Soda + Vinegar for Tough Jobs
If you skipped cleaning for too long and it looks like a mini cave full of minerals, combine 1 tablespoon of soda with 1/2 cup of vinegar in water. Just be prepared for fizzing—and don’t close the lid while it’s bubbling!
Final Thoughts
Cleaning a kettle with baking soda goes beyond just keeping it clean. It’s about caring for a tool that helps you every day. From morning tea to bedtime cocoa, it’s always there—quiet, steady, and useful.
It doesn’t take much. A spoonful of soda. Some warm water. A little time.
There’s real joy in seeing the inside shine. No build-up. No bad smell. Just clean, clear water, ready to serve.
So listen to your pot. Give it a fresh start. Your next cup will taste better—and so will the ones after that.