
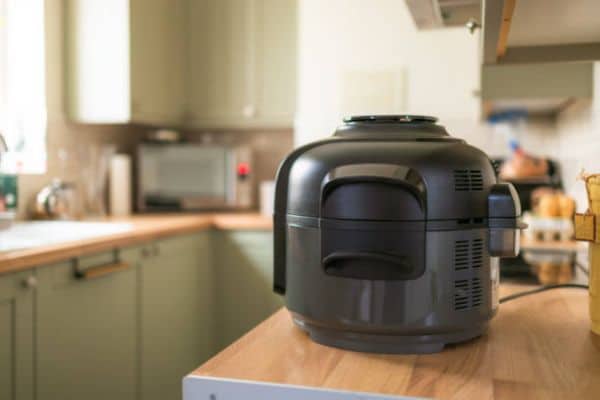
I still remember my first time using the Ninja Foodi. The fries came out golden, crisp, and perfect. I felt like a pro. But after weeks of cooking, it started to smell. Grease built up. Food stuck to the basket. My meals lost their spark. I knew I needed a change. So I searched for the best way to clean Ninja Foodi Air Fryer without harsh scrubbing. I tried sprays, scrubs, and shortcuts. Some helped. Some didn’t. Over time, I found a method that works. In this guide, I’ll share what I do now—simple steps that keep your air fryer fresh.
Why Cleaning Your Air Fryer Regularly Matters
Every time you cook, tiny bits of food fall—grease splatters. Smells settle in. It all builds up fast. And that buildup doesn’t go away on its own.
Over time, your meals suffer. Fresh fries start tasting like old chicken. Sweet snacks pick up garlic notes. The basket gets sticky. Heat becomes uneven.
This doesn’t just affect flavor. It wears down the machine. The fan works harder. Parts clog. Lifespan shortens. You get slower cooking and poor results.
Clean gear means better meals. For new users, this habit keeps things simple. It protects your investment. And it makes cooking more fun.
What You’ll Need (Simple Tools From Your Kitchen)
You don’t need fancy tools. Most items are already in your kitchen. Keep it simple and gentle. That’s the key to long-lasting results.
Here’s what I use every time:
- Soft sponge
- Baking soda
- White vinegar
- Mild dish soap
- Microfiber cloth
- Old toothbrush
- Warm water
- Dry towel
Avoid anything rough or sharp. No steel wool. No hard brushes. These scratch the surface and ruin the coating. Stick to soft tools that clean without damage.
Step-by-Step: Best Way to Clean Ninja Foodi Air Fryer
Unplug and Cool Down First
Start with safety. Always unplug your air fryer. Let it cool for at least 15 minutes. Cleaning a hot unit risks damage. A cool surface is safer to touch.
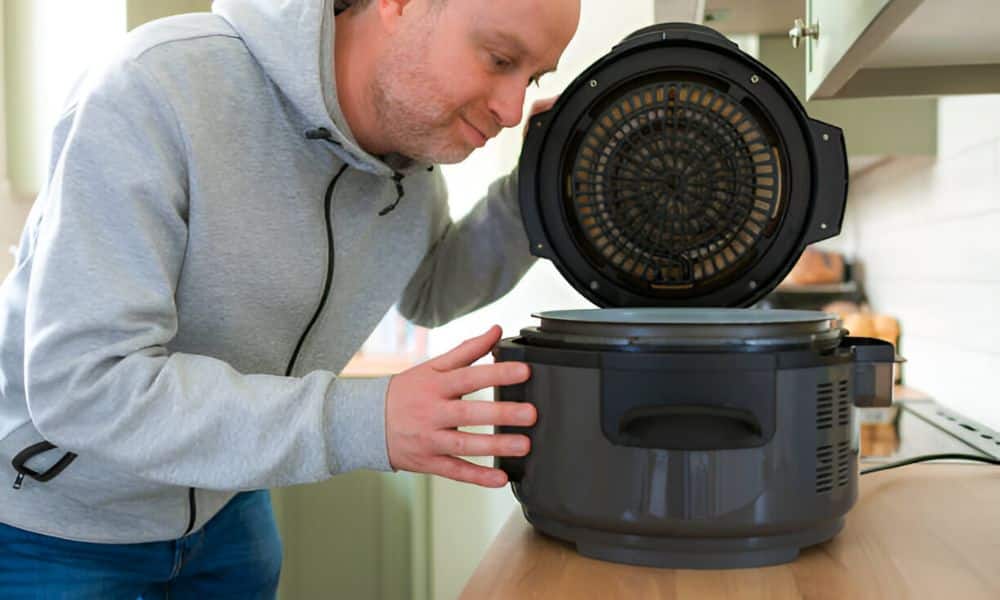
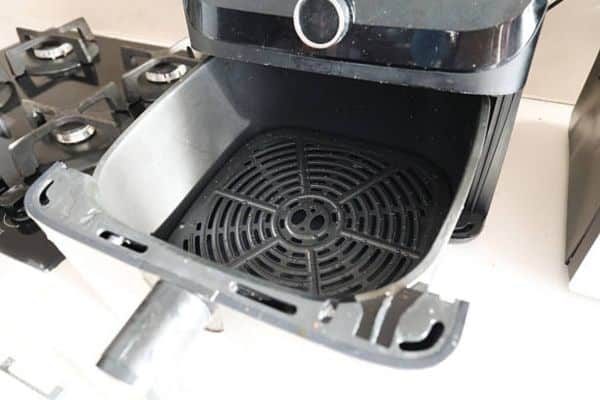
Remove Basket, Tray, and Accessories
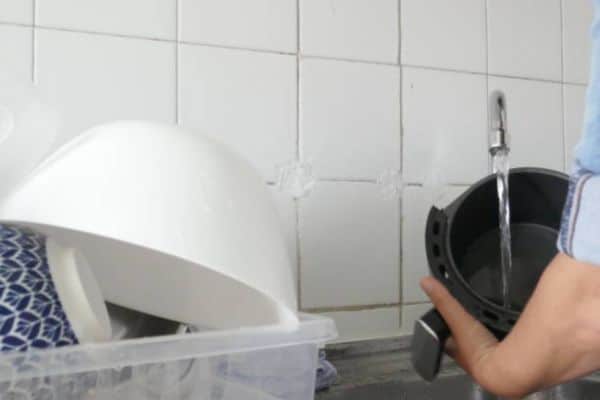
Take out the basket and tray. Place them in warm, soapy water. Let them soak for 10–15 minutes. This softens grease and loosens stuck food.
Use a Soft Sponge or Cloth
Wipe each part gently. Use slow, firm strokes. A soft sponge removes grime without damage. Avoid pressure or scrubbing too hard.
For Sticky Messes, Try Baking Soda
Mix baking soda with water. Spread it over sticky spots. Let it sit for a few minutes. Then wipe it off with a soft cloth. It lifts grease fast and leaves no scratches.
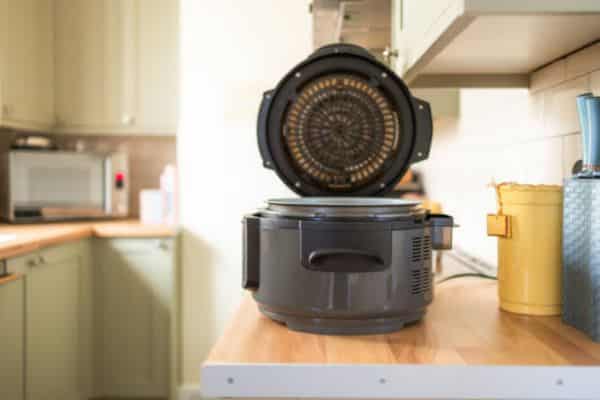
Clean Heating Coil Area Gently
Dip a cloth in warm water. Squeeze it out well. Wipe around the coil with care. Use an old toothbrush for tight spots. Never soak or pour water near this area.
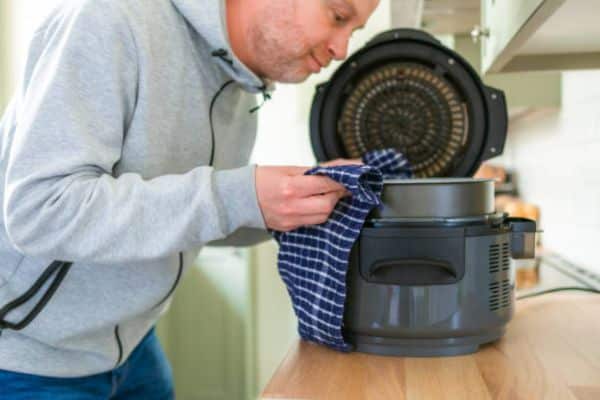
Wipe the Inner Walls and Lid
Grease splatters here often. Use a damp cloth with mild soap. Rinse with a clean cloth. Wipe dry after. A splash of vinegar helps clear odors.
Don’t Forget the Outside and Screen
Use a soft cloth to wipe the body. Fingerprints and stains come off easily. Clean the screen gently with a dry microfiber cloth. Avoid pressing too hard.
Dry Completely and Reassemble
Let all parts air dry. Or wipe them with a towel. Make sure no moisture stays inside. Once dry, reassemble everything. Leave the lid open for airflow.
Pro Tips from My Kitchen Experience
Here are the habits I’ve built over time. These small steps make a big difference. They save time, protect the coating, and keep food tasting fresh.
- Soak parts right after cooking
Warm water loosens grease fast. No scrubbing needed later. - Use vinegar for lingering smells
Mix with water and wipe. It clears garlic and fish odors. - Avoid cooking spray buildup
Brush oil instead. Sprays can leave a sticky film. - Let it air dry overnight
Keeps moisture from hiding in corners. Helps prevent rust. - Wipe the lid and edges too
Grease hides in spots you don’t see at first. - Keep a cloth nearby
A quick wipe after each use saves deep clean time later. - Use a toothbrush in corners
Gets into tight spots without scratching. - Clean the screen once a week
Dust and grease can dull the display. - Check for hidden crumbs
Look under the tray and in vents. They collect fast. - Re-read the manual sometimes
I always find something new I missed before.
How Often Should You Clean It?
Cleaning doesn’t need to be hard. It just needs to be regular. A simple habit saves time later and keeps your air fryer working like new.
After every use
Wipe down the basket and tray. A soft cloth or sponge is enough. This stops grease from drying and sticking.
Once a week
Do a deeper clean. Soak the basket. Scrub gently. Wipe the inside walls and lid. Clear out crumbs hiding in corners.
Once a month
Clean the heating coil and fan area. Use a damp cloth and an old toothbrush. Dry everything well after.
Bonus: How Cleaning Differs Between Expensive and Budget Air Fryers
Price doesn’t change the need to clean. Even the best air fryers under $50 need regular care. Grease builds up the same way. Crumbs still fall. Odors still stick.
What does change is how you clean. Budget models often have smaller baskets. That means less space for soaking. Some don’t have removable trays, so wiping by hand takes more time.
Cheaper units may also skip digital screens. That’s one less part to clean. But their fans and vents still need attention. A soft brush works well for those tight spots.
No matter the price, the rules stay the same. Be gentle. Be regular. Your air fryer—cheap or fancy—will last longer and work better.
Troubleshooting: Common Mistakes to Avoid
Cleaning your air fryer seems simple. But small mistakes can cause big problems. Here are a few I’ve seen—and learned from.
Using steel wool
It may seem quick, but it scratches the nonstick surface. This makes food stick more later. It also shortens the life of the basket.
Not drying completely
Moisture left inside can lead to rust. It also causes a damp smell. Always let parts air dry or wipe with a towel.
Ignoring burnt smells
That smell sticks to your food. Even fresh fries taste off. Burnt crumbs can also lead to smoke during cooking.
Skipping tight spots
Crumbs hide under trays and near the fan. Leaving them makes each batch taste like the last.
Final Thoughts
Cleaning doesn’t need to feel like a chore. A few small steps after each meal make a big difference. Your food stays fresh. Your fryer works better. And your kitchen smells clean.
For new users, forming simple habits early is the secret. Wipe after cooking. Soak parts while you eat. Dry everything before putting it back.
These little things add up. They protect your machine. They protect your meals. And they make cooking more fun.