
I still remember the first time I tried to make dried apple slices at home. I had a few apples, a free afternoon, and a Ninja Air Fryer I barely used. That day, I learned something new: making snacks doesn’t need to be hard. It felt easy, clean, and fun. Learning how to dehydrate apples in Ninja Air Fryer gave me more than just food—it gave me joy. Now I make a batch every week. No sugar, no stress. Just pure, simple flavor. And today, I’ll show you exactly how you can do it too.
Why Dehydrated Apples Are the Perfect Snack
Dried apples are simple. No sugar. No strange extras. Just fresh fruit with a long shelf life. They’re kind to your wallet, too. One apple can make a whole cup of snacks. No more spending on pricey store packs.
Kids love them. Adults do too. They fit into lunchboxes, gym bags, and desk drawers. Great for hikes, travel, or late-night cravings.
Making them at home adds joy to the process. And using makes it fast. No long oven hours or bulky machines. Just set it and let it work.
What You Need Before You Start
You don’t need much to get started. A few tools, a few apples, and you’re ready to go.
Choose firm apples like Fuji, Honeycrisp, or Gala. These hold their shape and taste sweet after drying. Granny Smith works too for a tart bite.
You’ll need with a dehydrate setting. Most models have it built in. A basic one works just fine—no need to spend big.
Optional extras help. Lemon juice keeps slices from turning brown. Cinnamon adds flavor. A slicer keeps cuts even, but a sharp knife will do.
Just starting out? Many of the best air fryers under $50 now offer dehydrating. They’re perfect for beginners on a budget who still want healthy snacks at home.
Step-by-Step: How To Dehydrate Apples In Ninja Air Fryer
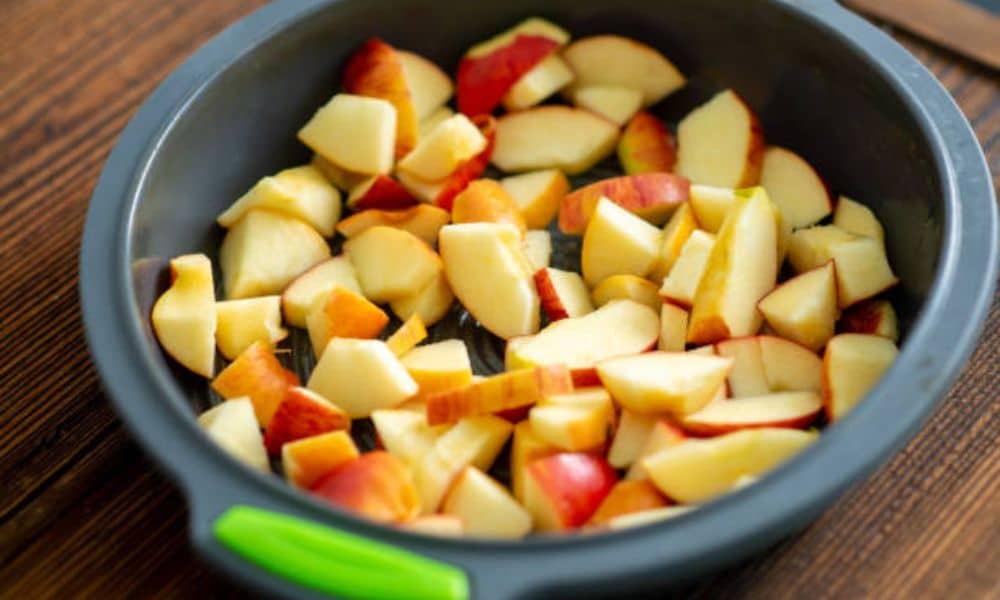
Start by washing your apples well. No need to peel them. The skin adds texture and keeps slices from sticking. Slice them thin—about ⅛ of an inch. Keep them the same size so they dry at the same speed.
Lay the slices flat in the basket. Don’t stack or crowd them. Air needs space to move. That’s the secret to a good dry.
Set your Ninja to dehydrate at 135°F. Let it run for 6 to 8 hours. Your kitchen will start to smell amazing.
Halfway through, open the basket and check. Flip each slice or move them around. This helps them dry on both sides and stay even.
Best Apple Varieties for Dehydrating (And Why It Matters)
Not all apples dry the same. Some turn soft and sweet. Others come out crisp and tart. That’s part of the fun.
Fuji apples stay juicy, even after hours in the air fryer. They taste sweet and chewy. Honeycrisp slices dry faster and hold a slight crunch. Gala gives a smooth texture and mellow flavor. Granny Smith offers a tangy twist—great for people who like a sour bite.
Try more than one type. Mix sweet and tart in the same batch. It keeps things interesting and helps you find what you like best.
Optional Flavors and Twists
Plain apples taste great. But a little extra can make them even better.
Sprinkle cinnamon on each slice before drying. It adds warmth and sweetness. A pinch of nutmeg brings a cozy feel. For something bold, try chili powder. It gives a sweet-heat combo that surprises people in the best way. A light brush of vanilla makes them smell like dessert.
Kids love cinnamon. Grown-ups often reach for the spicy ones. You can even dip slices in lemon juice and coat them with a spice mix.
How to Tell They’re Done: What Perfectly Dehydrated Apples Look Like
Look for a dry, leathery feel. The slices should bend without breaking. They should not feel sticky or wet.
Hold one up and bend it. A soft fold means it’s ready. No snap, no mush—just a smooth curve.
Too soft? Give them another 30 minutes in the air fryer. Too crisp? Slice thicker next time.
It takes one or two batches to find your sweet spot. Trust your hands more than the clock. The bend test never fails.
Storing Your Dried Apples the Right Way
Let the slices cool before storing. Spread them out on a plate or tray. Warm slices still let off steam, which can cause moisture later.
Once cool, place them in an airtight jar or sealed bag. Keep them in a dry, dark spot like a cupboard or pantry.
They stay fresh for two to three weeks at room temp. For longer storage, use the fridge. To keep them chewy, add a dry paper towel or a food-safe moisture pack.
Done right, they’ll taste just as good on day twenty as they did on day one.
Bonus – What If You Don’t Own a Ninja Air Fryer?
No problem. You can still make dried apples at home.
Many air fryers have a dehydrate setting, even the smaller ones. Just check the manual for the lowest temp—around 135°F works best. Slice thin, keep airflow steady, and check often.
Some ovens have a drying mode too. Use a wire rack and leave the door cracked. It takes longer, but it still works.
Troubleshooting – Common Mistakes and How to Avoid Them
Some batches don’t turn out right. That’s okay. A few small fixes can make a big difference.
Apples turning brown? Try a quick dip in lemon water. It slows browning and keeps slices looking fresh.
Slices sticking together? They need more space. Lay them flat and don’t let them touch. Overlapping stops airflow and makes drying uneven.
Some pieces too soft, others too dry? Your slices might not be even. Use a slicer or cut slowly by hand. Flip them halfway through to balance things out.
Wrong temp or time? Stick to 135°F and check after six hours. Small tweaks help, but start with the basics and adjust from there.
Creative Ways to Use Dried Apples
Dried apples aren’t just snacks. They’re little flavor boosters.
Toss them into trail mix or sprinkle them on granola. Stir into warm oatmeal for a sweet, chewy bite. Chop and fold into muffins, pancakes, or cookies.
They look great too. Add a few to a cheese board next to nuts and crackers. Or dip them in almond butter for a quick treat.
Final Thoughts
Don’t worry if it’s your first time. Drying apples in an air fryer feels simple from the start. You’ll get the hang of it fast.
There’s joy in doing something with your hands. You slice, you wait, and then—just like that—you’ve made something real. It’s one of those small kitchen wins that feels big.
I’ve made dozens of batches, and each one feels just as rewarding. It’s easy, fun, and always worth it.
So go on—try your first batch today. You’ll be hooked before the slices even cool.