
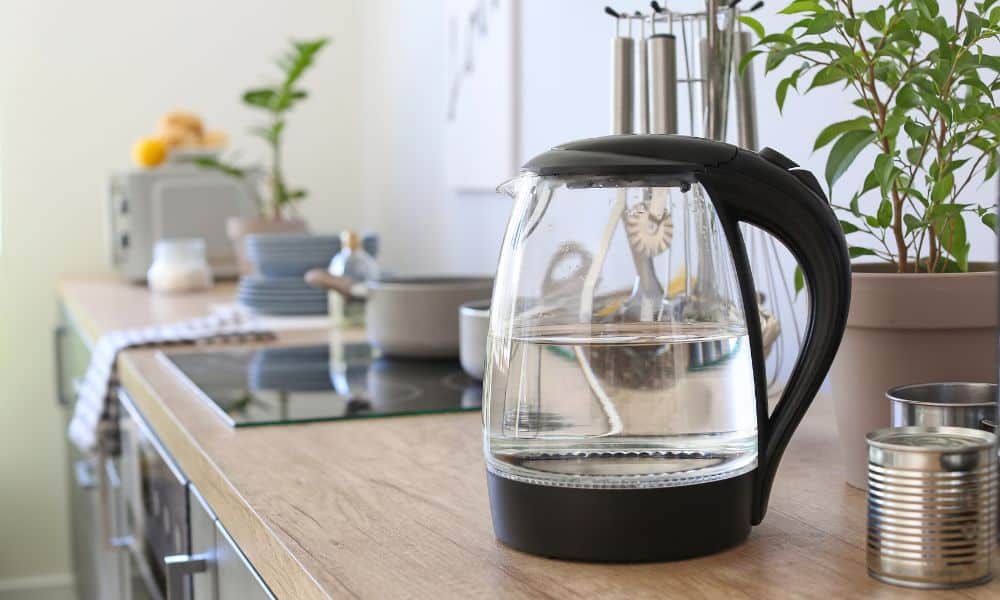
I remember the first time I noticed my tea tasting off. Looked inside my Hamilton Beach electric kettle and saw mineral buildup. I had forgotten to clean it. After I cleaned it, the taste improved, and the kettle worked like new. This small task made a difference. We often forget to clean our kettles. We use them every day, but regular cleaning is important. It keeps your kettle running smoothly and ensures your drinks taste fresh. This goes for all kettles, whether it’s a Hamilton Beach, Cuisinart, or a glass kettle. In this article, I’ll show you how to clean your Hamilton Beach electric kettle. I’ll also share tips for cleaning other types, like Cuisinart and glass kettles. Keeping your kettle clean is easy and worth the effort. Let’s get started!
Why Cleaning Your Electric Kettle is Important
At first, I didn’t think keeping my kettle clean was important. But when I started to taste that odd flavour in my tea, I learned how useful it is. Cleaning results in better performance and longer life.
With time, minerals such as limescale deposit inside the kettle. This could slow boiling and alter the flavour of the water. Once I cleaned the pot, I noticed the water was boiling faster, and the taste was way better.
If you skip cleaning, those problems might include funky smells or extended boiling times. I’ve experienced both. It is a little thing, but it is very important.
How to Clean a Hamilton Beach Electric Kettle
01. Unplug the Kettle and Let it Cool
Safety is the priority. Always disconnect the kettle and allow it to cool before cleaning. This way you don’t accidentally burn yourself when you’re working.
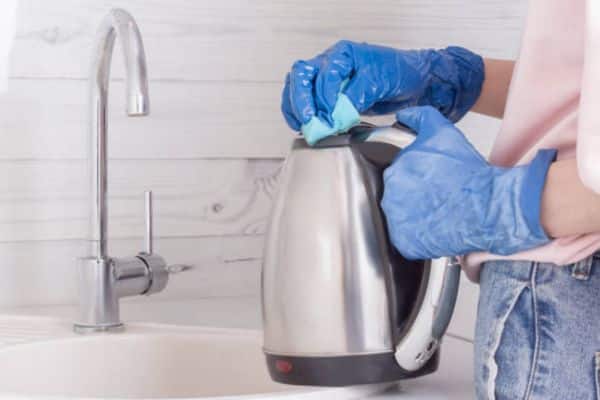
02. Clean the Exterior
Wipe down the exterior of the pot with a slightly damp cloth and mild soap. Be careful around buttons and knobs. And for tricky spots, a dash of baking soda with water does wonders on sticky marks.
03. Remove Mineral Deposits (Descaling)
To fight mineral buildup, fill with equal parts vinegar and water. Add the solution to it and leave for 15–20 minutes. This will help dissolve any limescale. I do it half and half, and it comes out perfect every time. Skip the harsh chemicals — they can ruin the pot.
04. Clean the Interior and Lid
Grime can build up inside the kettle and on its lid. Lightly wipe the inside with a soft sponge or cloth. Take special care of the spout, which is a common gathering place for limescale. Don’t neglect the lid, either! If you’re looking for a kettle that’s easy to clean and safe for everyday use, consider investing in the best non toxic electric tea Kettle, a great option for both health-conscious users and effortless maintenance.
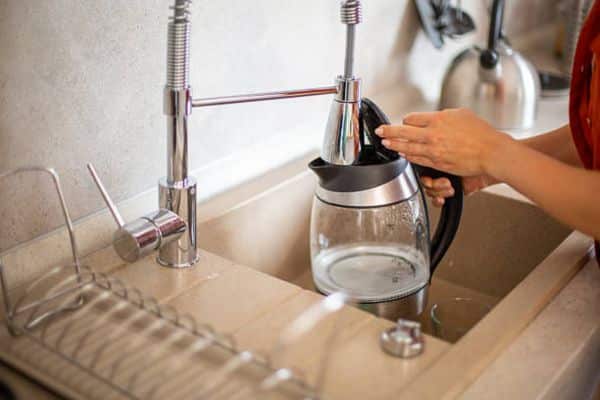
05. Rinse Thoroughly
After you’ve scrubbed the kettle down, rinse it a few times with fresh water to rid it of any vinegar taste. You don’t want a residue to compete with the next cup of tea or espresso. There should be no leftover cleaning solution inside.
How to Clean a Cuisinart Electric Kettle
Cleaning a Cuisinart electric kettle is simple, but there are a few details that require special care. One is the removable filter. If you have a filter, remove it and rinse it under warm water. That will get rid of any mineral deposit buildup.
Cuisinart also have a more open base that’s susceptible to limescale buildup. Wiped clean with da amp cloth or sponge. Just be careful not to get water inside the unit.
The spout is also one place to check. Limescale tends to accumulate here, so lightly scrub it. Cuisinart have a newer heating element style, so they’re both more efficient and more prone to build up. Regular cleaning keeps the dishwasher running well.
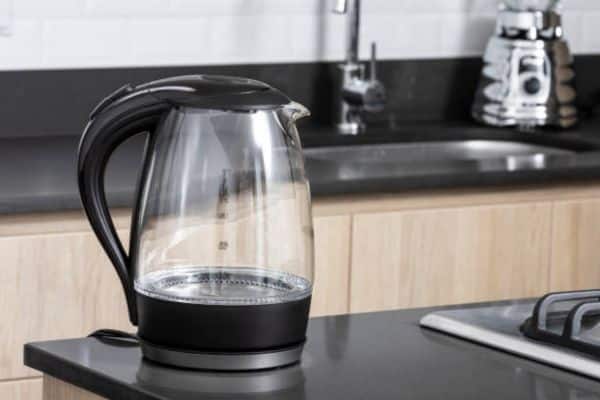
How to Clean a Glass Kettle
Clean the Exterior
Wipe the outside of the pot with a damp cloth using mild, soapy water. Be careful not to scratch the glass. A soft cloth is the best material for this.
How to Remove Limescale with Baking Soda
Glass can get limescale pretty quickly. Combine one tablespoon of baking soda and warm water. Transfer to the pot and allow it to stand for 15–20 minutes. This will aid in removing mineral deposits. Scrub with a soft sponge after soaking.
Clean the Inside
Clean the inside by wiping it down with a soft cloth or non-scratch sponge. Be sure to pay attention to the spout, where limescale can often build up. Stay away from abrasive chemicals, which could damage the glass.
Rinse Thoroughly
Afterwards, wash out the kettle very thoroughly with fresh water. The second step however, is pulled out to pick up any remaining cleaning solution or particles. Rinsing well prevents any taste residue.
Dry the Glass
Dry the pot with a microfiber cloth. This reduces streaks and leaves the glass looking clear and shiny.
Practical Tips and Tricks for Keeping Your Kettle Clean

Prevent Mineral Buildup
The best way to clean is to avoid having a kettle full of minerals. Yes, if you use filtered water, then this will help you in preventing the limescale deposit buildup inside. This is of particular help if you live in a hard water area.
Clean Regularly
It is important to clean regularly. Clean your pot about once a month (or more, if you have hard water). This prevents gunk from building up and keeps the pot operating smoothly.
Go with a Commercial Descaling Product
A commercial descaling solution may be used for a faster or more thorough descaling. They can be found in most stores and are effective at getting rid of tough limescale. Just pay attention to product instructions for best results.
Check and Clean the Filter
Don’t overlook the kettle’s filter (if yours has one). Eventually, it can become caked with mineral deposits. Rinse it out or give it a soft scrub to keep in top shape.
Conclusion
Cleaning your Hamilton Beach electric kettle, Cuisinart, or glass pot is crucial for the best performance. Regular cleaning helps your kettle last longer and work more efficiently. It also ensures your drinks taste fresh every time.
Set a cleaning routine based on how often you use. It’s a quick task that keeps everything running smoothly.