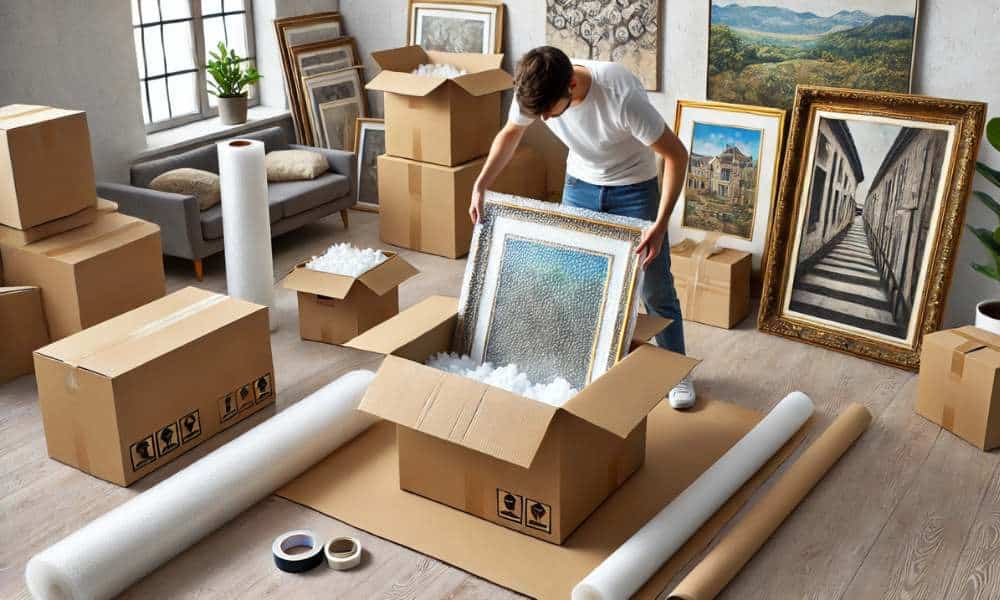
Packing wall art for a move can be a tricky task, but with the right approach, you can ensure your pieces arrive safely. Knowing how to pack wall art for moving is crucial for protecting your valuable artwork from potential damage. Whether it’s a painting, framed print, or mirror, using appropriate materials such as bubble wrap, packing paper, and sturdy boxes will help safeguard your items. Proper techniques not only prevent scratches or breakage but also ensure smooth handling during the move. In this article, we’ll guide you through the best methods to pack wall art for moving, so you can preserve your cherished pieces without worry.
Understanding Different Types Of Wall Art And Their Packing Needs

Not all wall art is created equal, and neither are the methods required to safeguard it during a move. Take framed art, for example: with its rigid form and glass front, it demands special attention to prevent cracks, scratches, or worse. Then there’s unframed canvas or photographic art, which, while seemingly less vulnerable, require careful handling to avoid dents, creases, or smudges. And don’t forget the sculptures and 3D pieces—these need not just protection, but often custom packing, due to their delicate, irregular shapes. Understanding the distinct needs of each type will help tailor your approach to packing and ensure that no piece is left vulnerable.
Gathering Supplies For Safe Packing

Before diving into the packing process, make sure your toolkit is well-stocked. Essential packing materials include:
- Bubble wrap: A must-have for cushioning fragile items like framed art and sculptures.
- Packing tape: A tool of precision, securing your wrapping materials in place.
- Corner protectors: These small yet mighty items shield the edges of your frames from any accidental knocks or scratches.
- Cardboard boxes: Both large and small varieties, accommodating artwork of various dimensions.
- Packing paper: Used to fill any gaps in your boxes and provide added protection.
- Stretch wrap or plastic sheeting: Ideal for canvases or mirrors, preventing moisture from seeping in.
With these supplies in hand, you’re ready to take on the task with confidence and precision.
Preparing Your Work Area For Packing Wall Art

Packing wall art demands more than just a flat surface; it requires a dedicated space free from distractions. A large, clean table or the floor of a spacious room works best. This lets in you to spread out your materials, carefully investigate every piece, and limit the hazard of damage throughout the packing technique. The key here is preparation—having ample room to maneuver and organize your packing efforts is paramount to protecting your artwork.
Pre-Packing Precautions
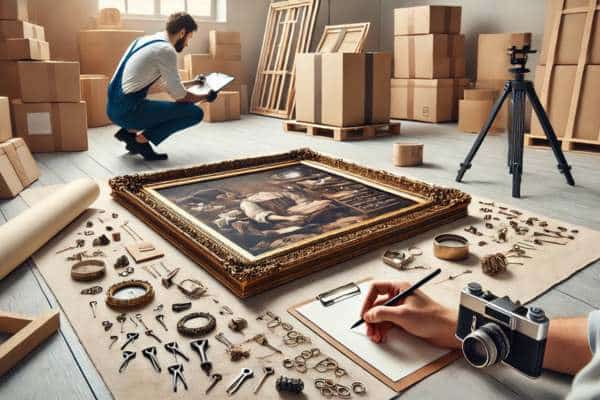
Before you even consider wrapping up your artwork, take a moment to inspect it thoroughly. Look for any existing damage and document it, just in case there’s an issue during transit. Remove any hardware, such as hooks or nails, that could potentially scratch or damage the piece or interfere with the packing materials. A little attention to detail now can save you a lot of hassle later.
How To Pack Framed Wall Art For Moving
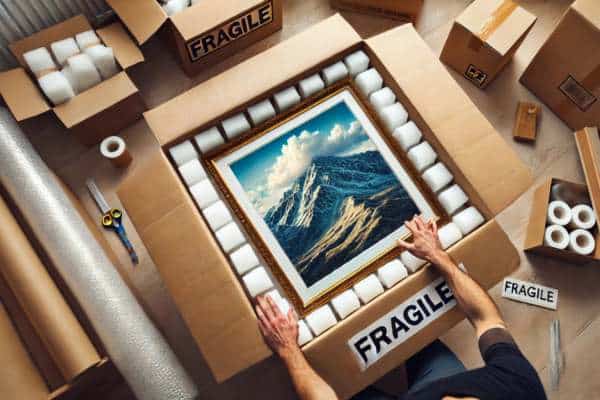
Packing framed artwork requires a fine balance of caution and precision. Start by securing the frame’s corners with protective padding, either corner protectors or foam. Then, wrap the entire piece in bubble wrap, ensuring that every surface, including the glass, is protected. For extra reinforcement, consider placing the wrapped art in a sturdy cardboard box, slightly larger than the frame. Fill any gaps with packing paper to prevent movement during transport. If the artwork has glass, wrap it an extra time, and don’t forget to label the box as “Fragile.”
Tips For Packing Glass And Mirror Art
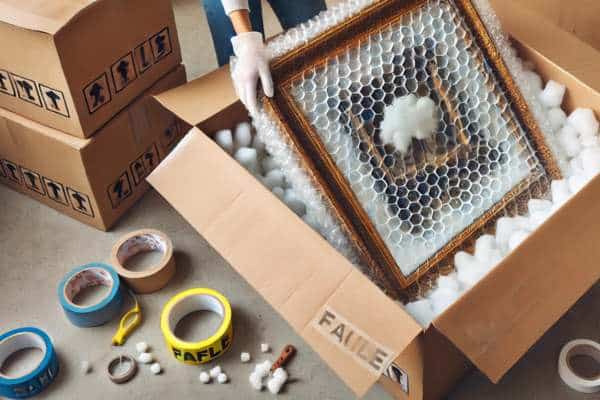
Glass and mirrors are notoriously tricky to pack. Their fragile nature means they require extra layers of protection. Start by wrapping the glass or mirror with a thick layer of bubble wrap, reinforcing the edges with cardboard corner protectors. For mirrors, you might also want to use stretch wrap to keep the bubble wrap in place. To ensure maximum protection, double-box these items: place the wrapped glass or mirror into a box, and then nest that box inside a larger, more robust box. Mark both boxes clearly with “Fragile” and “This Side Up” to ensure proper handling.
Packing Unframed Canvas Art Safely
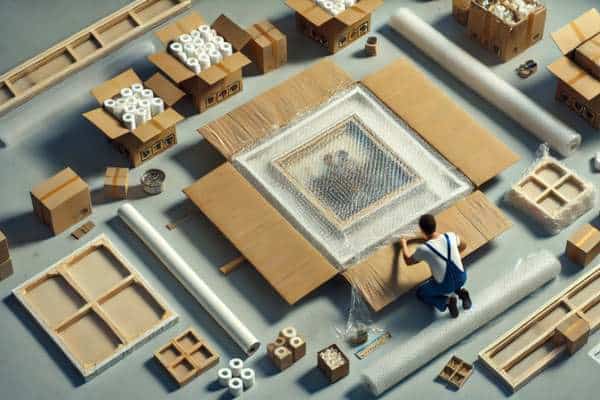
Unframed canvases may seem more straightforward, but they still need careful handling. Wrap the canvas tightly in bubble wrap, ensuring the surface is shielded from potential scratches. To prevent bending or creasing, sandwich the canvas between two pieces of cardboard. Next, wrap the whole bundle in plastic sheeting to safeguard against moisture. Then, place the wrapped canvas in an appropriately sized box, filling any remaining gaps with packing paper or foam peanuts to minimize shifting.
Special Care For Packing Sculptures And 3D Art
Sculptures and 3D artwork present a unique challenge—they are irregular in shape and often require custom packing. Begin by wrapping the piece in several layers of bubble wrap, followed by foam padding for extra cushioning. If the sculpture is particularly large or delicate, consider building a custom crate from wood or sturdy cardboard to provide additional protection. Ensure the piece is tightly secured and that there is no room for it to shift during transit. The goal is to make the sculpture feel as though it’s floating in a sea of protective material, safely insulated from any potential bumps or jolts.
How To Label Packed Wall Art For Easy Moving And Unpacking
Clear labeling can make a world of difference when it comes to moving artwork. Label each box with detailed instructions, such as “Fragile,” “This Side Up,” or “Do Not Stack.” If the item is particularly sensitive, don’t hesitate to add more specific guidance, like “Handle With Care” or “Keep Dry.” This not only helps movers handle the boxes appropriately, but it also simplifies the unpacking process. The clearer your labeling, the easier it is to avoid mishandling and place your artwork in its proper spot upon arrival.
Unpacking And Setting Up Wall Art In Your New Home

Once your artwork has safely arrived at your new home, take your time unpacking it. Gently remove the protective layers, inspecting each piece for any signs of damage. When dealing with large or heavy frames, enlist help to avoid strain or accidents. As you begin to set up your art, take a moment to assess the best placement for each piece. Your art should enhance your new space, so consider lighting, wall color, and room layout as you position each item.
Protecting Wall Art From Temperature And Humidity During The Move
The elements—specifically temperature and humidity—can wreak havoc on delicate artwork. Paintings, in particular, are vulnerable to cracking or warping if exposed to extreme conditions. To mitigate this risk, ensure your boxes are sealed tightly to keep out drafts and moisture. If possible, transport your artwork in a climate-controlled vehicle, which will help protect it from fluctuating temperatures and humidity levels during the move.
Handling Large Or Oversized Wall Art Safely
Large or oversized pieces of arrange wall art come with their own set of challenges. These pieces are heavy, cumbersome, and prone to damage if not handled properly. When packing, use custom-sized boxes or crates to ensure the artwork is securely held in place. Avoid stacking large pieces with other items, as their sheer weight and size can cause breakage. If the art is too large to handle on your own, consider hiring professional movers who specialize in transporting oversized artwork.
Disposing Or Recycling Packing Materials After The Move
Once the move is complete and your artwork is safely displayed in its new home, take a moment to consider what to do with all the packing materials. Many of the materials, such as bubble wrap, packing peanuts, and cardboard, can be recycled. Alternatively, if you plan to reuse them for future moves or storage, make sure they are still in good condition. Properly disposing of or recycling these materials not only helps keep your home clutter-free but also supports an eco-friendly approach to moving.
Final Checklist For Packing And Moving Wall Art
Before embarking on your move, take a moment to check off this final list:
- Inspect each piece of art for any existing damage.
- Gather the necessary packing materials.
- Protect the edges and corners of frames.
- Wrap each item in bubble wrap and additional cushioning.
- Label all boxes with specific handling instructions.
- Securely pack the art in boxes with adequate padding.
- If possible, transport your artwork in a climate-controlled environment.
- Unpack carefully, inspecting for any damage.
Frequently Asked Questions
– What is the Best Way to Protect Framed Art During a Move?
The optimal way to protect framed art is by securing the corners with foam or protectors, wrapping the entire piece in bubble wrap, and placing it in a sturdy box with cushioning material to prevent any shifting.
– How Do I Safely Pack Large Canvas Art?
For large canvas art, wrap the piece in bubble wrap, sandwich it between two cardboard pieces, and fill any gaps in the box with foam or packing paper to minimize movement and ensure safety during transit.
Final Thoughts
Learning how to pack wall art for moving is essential to ensure your valuable pieces arrive safely at your new home. By using the right materials, such as bubble wrap, cardboard, and specialised photo bins, you can defend your paintings from scratches, dents, and other damages. Proper labeling and cautious handling also are key steps within the packing method. With these tips, your wall art can be secure and prepared for show in your new space.

